Roof Sheathing: Your Ultimate Guide to Installation and More
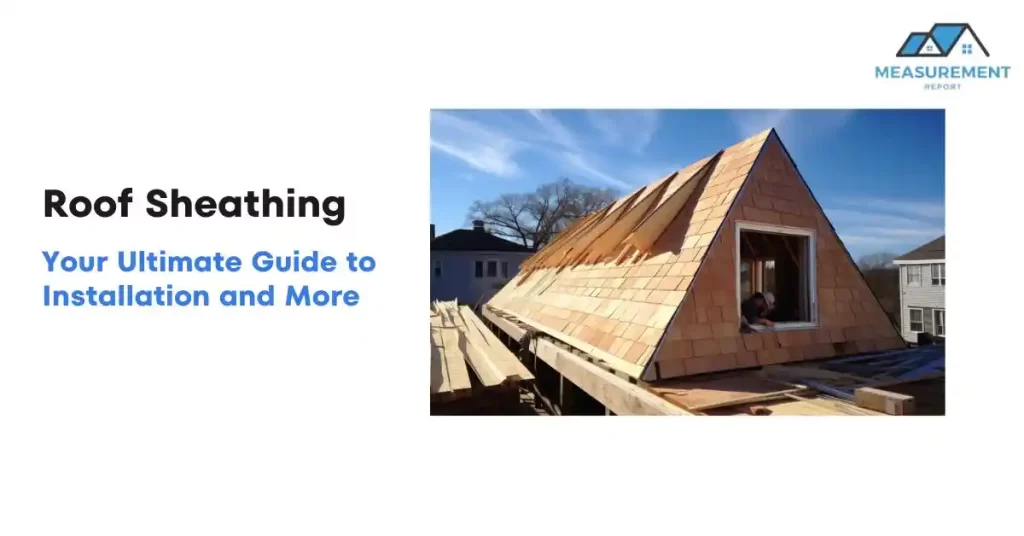
Roof sheathing forms a fundamental component of modern roofing systems, often unnoticed but crucial for structural integrity and overall functionality. Serving as the layer nestled between the structural elements, such as trusses and joists, and the outer weatherproofing materials, roof sheathing is pivotal in providing a stable, flat base for roofing materials like shingles, tiles, or metal. It plays a vital role in the overall durability and safety of a roof, acting as a crucial barrier against external elements while also contributing significantly to the roof’s load-bearing capacity. This guide aims to unpack the various facets of roof sheathing, emphasizing its critical role in any roofing system.
What is Roof Sheathing
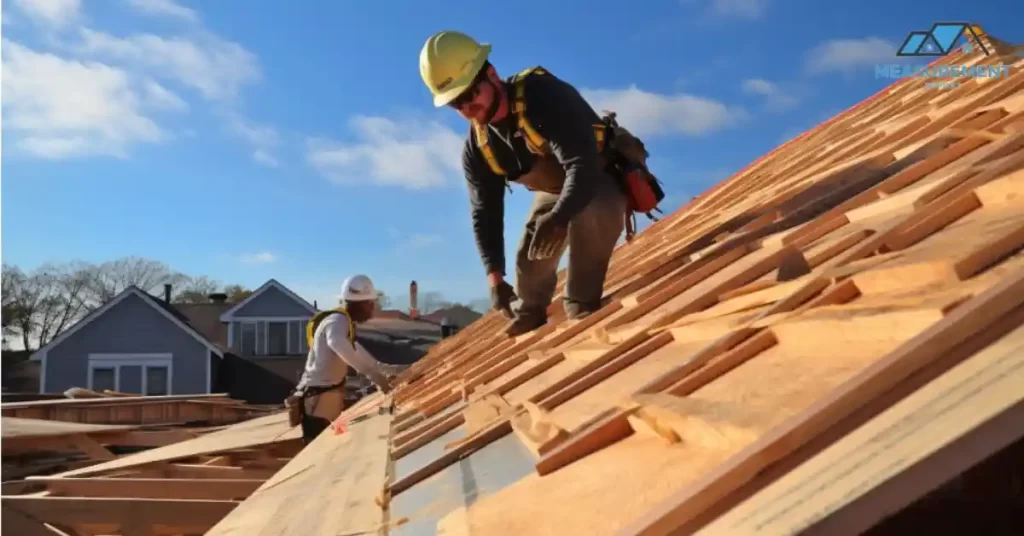
Roof sheathing, often synonymous with roof decking, is a structural layer that provides a solid base on which roofing materials like shingles, tiles, or metal panels are installed. This layer is typically made from sheets of plywood or oriented strand board (OSB) and is attached to the rafters or trusses of the roof. The primary role of roof sheathing is to add rigidity and strength to the roof structure, ensuring it can withstand various loads, including the weight of the roof materials, environmental loads like snow or wind, and even foot traffic during maintenance.
Beyond its structural support role, roof sheathing plays a significant part in the overall functionality of the roofing system. It acts as a crucial barrier, offering protection against elements such as moisture and heat. In climates where temperatures fluctuate significantly, roof sheathing contributes to the thermal performance of the roof, assisting in maintaining consistent indoor temperatures. Furthermore, in emergency situations like fires, the right type of roof sheathing can provide an essential layer of protection, slowing down the spread of flames and offering crucial extra minutes for evacuation and firefighting efforts. Thus, while often hidden from view, roof sheathing is a key player in ensuring the longevity, safety, and efficiency of roofing systems.
The Evolution of Roof Sheathing Materials
The evolution of roof sheathing materials is a testament to the advancements in building technologies and materials science over the years. Historically, roof sheathing was often made from whatever materials were readily available, such as rough-cut boards or planks. These materials were functional but varied greatly in terms of quality and durability. As construction methods evolved, so did the need for more uniform and reliable sheathing materials.
In the mid-20th century, plywood emerged as a popular choice for roof sheathing. Plywood roof sheathing offered a more consistent and sturdy base for roofing materials compared to its predecessors. Made from layers of wood veneers glued together, plywood provided enhanced strength and resistance to warping or splitting, making it a preferred choice for many builders and architects.
The introduction of oriented strand board (OSB) in the late 1970s marked another significant evolution in roof sheathing materials. OSB is made from wood strands mixed with adhesives and then compressed to form sturdy panels. It quickly gained popularity due to its cost-effectiveness and comparable performance to plywood. Today, OSB is one of the most commonly used materials for roof sheathing, valued for its strength, consistency, and affordability.
These advancements in materials have brought about current standards in roof sheathing, which emphasize not only structural integrity and durability but also considerations such as environmental impact and energy efficiency. Modern roof sheathing materials are expected to meet stringent building codes and performance criteria, ensuring they can withstand various environmental stresses while contributing to the overall energy efficiency of homes. The continuous development in this field reflects the construction industry’s commitment to innovation and improvement, ensuring that roof sheathing remains a critical component in modern roofing systems.
Types of Roof Sheathing Materials
When selecting roof sheathing materials, it’s crucial to weigh the pros and cons of each option to determine what best suits a specific project’s needs. The most commonly used materials are plywood and oriented strand board (OSB), but other eco-friendly options are also gaining traction in the market.
Plywood Roof Sheathing:
- Pros: Plywood is known for its exceptional strength and stiffness. It’s less susceptible to water damage compared to OSB and can be an excellent choice in wet climates. Plywood holds nails well, which is critical in high-wind areas.
- Cons: The primary downside of plywood is its cost; it’s generally more expensive than OSB. Additionally, it’s heavier, which might require more labor or stronger support structures.
Oriented Strand Board (OSB) Roof Sheathing:
- Pros: OSB is more cost-effective than plywood, making it a popular choice for budget-conscious projects. It also offers good strength and durability for typical roofing applications.
- Cons: OSB is more sensitive to moisture. When it gets wet, it can swell at the edges, and over time, this can lead to issues like roof deformation. It also takes longer to dry out compared to plywood.
Eco-Friendly Roof Sheathing Materials:
- In recent years, there has been a push towards more sustainable building materials. Eco-friendly roof sheathing options include materials like recycled wood panels, sustainable wood products, and even innovative composites made from recycled plastic and wood fibers.
- Pros: These materials help reduce the environmental footprint by utilizing recycled content or sustainable sources. They often come with added benefits like improved energy efficiency or lower emissions during manufacturing.
- Cons: The main drawback is that these eco-friendly options can be more expensive and less readily available than traditional materials. There may also be limitations in terms of structural performance or compatibility with certain roofing systems.
In summary, when choosing roof sheathing materials, it’s essential to consider factors like climate, budget, structural requirements, and environmental impact. Plywood and OSB remain the go-to choices for many, but as the industry evolves, eco-friendly options are increasingly becoming viable alternatives for those looking to build sustainably.
Step-by-step guide to installing roof sheathing
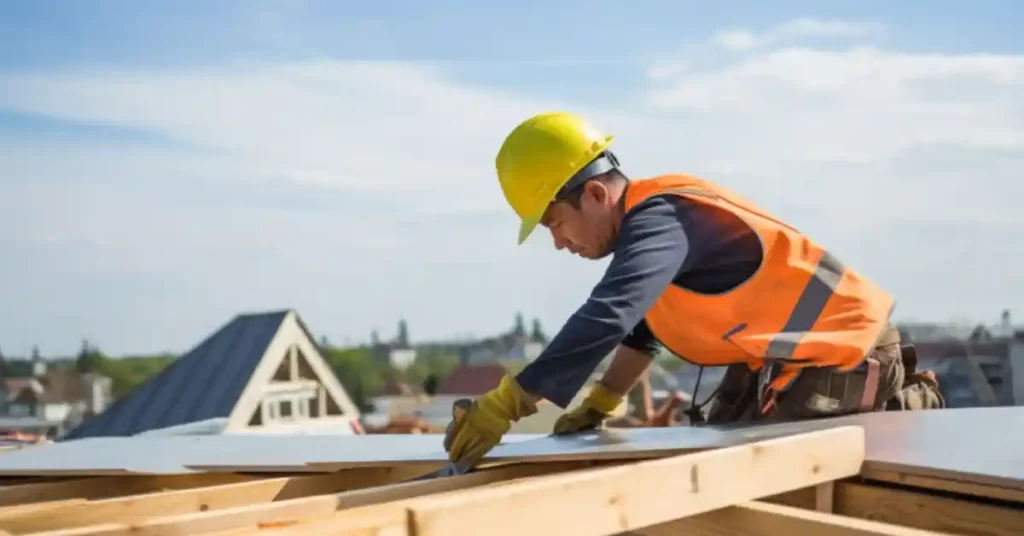
The installation process for roof sheathing is a critical stage in roof construction, requiring attention to detail and adherence to safety protocols to ensure a stable and long-lasting roof. Here’s a step-by-step guide on how to install roof sheathing:
1. Preparation and Planning:
- Materials and Tools: Gather all necessary materials (plywood or OSB panels) and tools (hammer or nail gun, tape measure, circular saw, chalk line).
- Safety Equipment: Ensure you have safety equipment like hard hats, safety glasses, gloves, and non-slip boots. Consider using a safety harness if working at heights.
2. Measuring and Cutting:
- Measure the roof area to determine the number of sheathing panels needed.
- Cut the panels to fit the roof dimensions, allowing for a small gap (about 1/8 inch) between panels for expansion.
3. Laying the First Panel:
- Start at one corner of the roof and lay the first panel perpendicular to the roof trusses or rafters.
- Ensure it’s flush with the edges and overhangs are consistent with building codes.
4. Fastening the Panels:
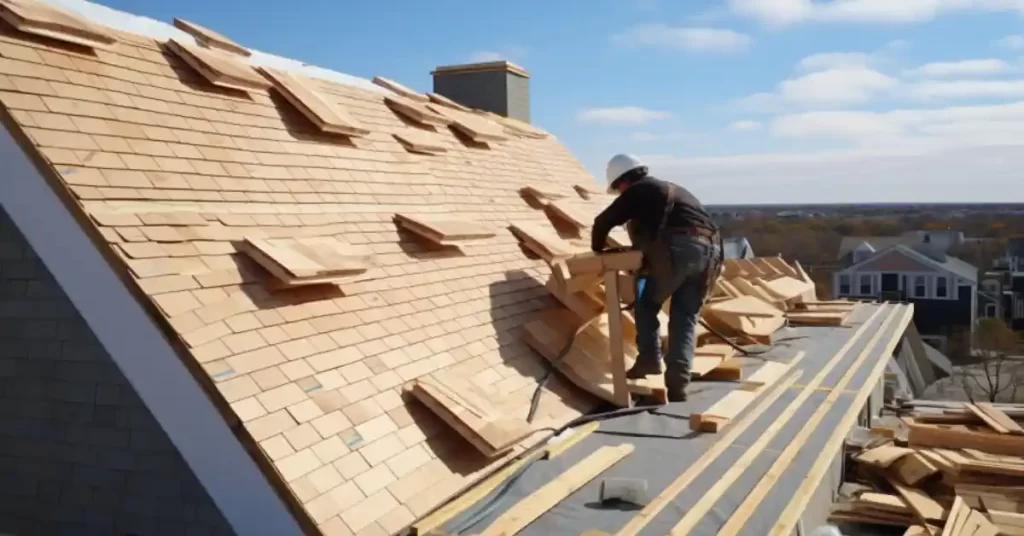
- Use nails or screws to secure the panel to the rafters or trusses. The fasteners should be spaced 6 inches apart along the edges and 12 inches in the field (center area) of the panel.
- Follow the recommended nailing pattern to ensure proper attachment.
5. Continuing the Installation:
- Continue laying panels, ensuring they are staggered so that the joints do not line up across rows, as this can weaken the roof structure.
- Maintain the expansion gap between each panel.
6. Cutting for Vents and Stacks:
- Measure and cut openings for any vents, stacks, or chimneys. Precision is key to ensure these openings are not too large, which could lead to leaks.
7. Final Inspection:
- Once all panels are laid, conduct a thorough inspection to ensure all panels are securely fastened and there are no gaps or misalignments.
Safety Precautions:
- Always work with a partner, especially when handling large panels or working at heights.
- Keep the work area clean and free of debris to avoid tripping hazards.
- Be mindful of the weather; avoid working on the roof in wet or windy conditions.
- Ensure the roof structure is stable and can support the weight of the sheathing and installers.
Proper installation of roof sheathing is vital for the overall performance and longevity of the roof. It’s always recommended to follow local building codes and, if in doubt, consult with or hire a professional roofer or contractor.
Roof Sheathing Thickness and Spacing Guidelines
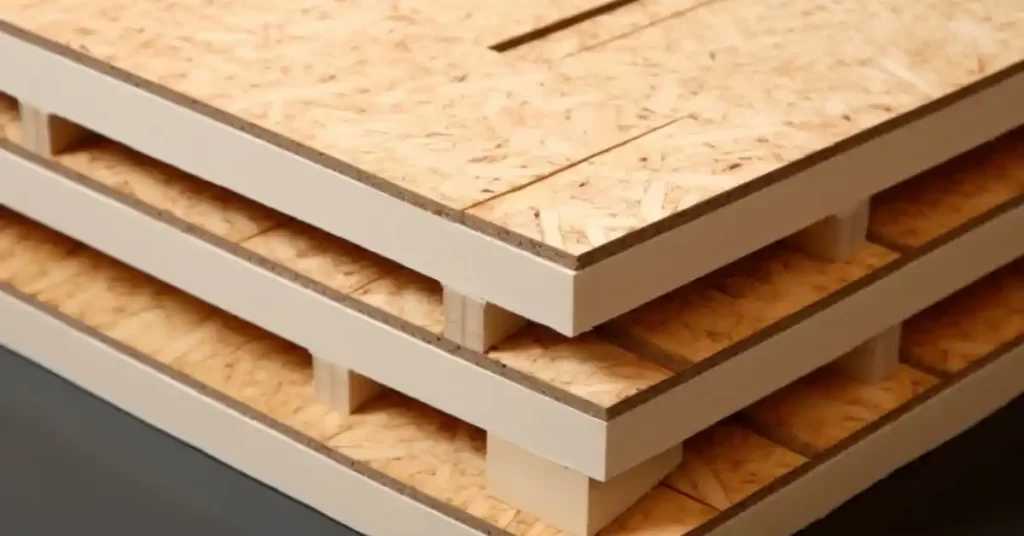
Roof sheathing thickness and spacing guidelines are critical considerations in ensuring the structural integrity and performance of your roofing system. Let’s delve into these guidelines and how they can vary based on roof type and material.
Recommended Thickness: The recommended thickness of roof sheathing typically depends on the materials used and local building codes. For standard plywood or OSB roof sheathing, a thickness of 1/2 inch or 5/8 inch is commonly used. Thicker panels, such as 3/4 inch, may be required for specific applications or areas with heavy snow loads.
Spacing Between Panels: The spacing between roof sheathing panels is equally important. Panels should be spaced to allow for expansion, which prevents warping and buckling. A common spacing recommendation is 1/8 inch between panels. It’s essential to follow the manufacturer’s guidelines for the specific sheathing material you’re using.
Variations Based on Roof Type: The recommended thickness and spacing can vary depending on the type of roof you’re constructing. For example:
- Low-Pitched Roofs: Low-pitched roofs may require thicker sheathing to provide additional support. In these cases, 5/8 inch or 3/4 inch thickness may be recommended.
- High-Pitched Roofs: Roofs with steep pitches may have different spacing requirements, as panels may need to be closer together to prevent sliding.
Variations Based on Roofing Material: The type of roofing material you plan to install can also influence thickness and spacing:
- Heavy Roofing Materials: If you’re using heavy roofing materials like slate or clay tiles, thicker sheathing may be necessary to provide adequate support.
- Metal Roofing: Metal roofing may have specific spacing requirements to accommodate expansion and contraction due to temperature changes.
Roof Sheathing for Sustainable Homes: In the context of sustainable homes, the choice of roof sheathing materials can contribute to energy efficiency and eco-friendliness. Sustainable homes often prioritize insulation and energy performance. Thicker sheathing may be used to accommodate additional insulation, enhancing energy efficiency. Additionally, eco-friendly sheathing materials made from recycled or sustainable sources can align with the sustainability goals of green homes.
In summary, understanding the recommended thickness and spacing for roof sheathing is essential for a structurally sound and long-lasting roofing system. These guidelines can vary based on factors such as roof type and the roofing material used. In sustainable homes, the choice of sheathing materials can further contribute to energy efficiency and environmental sustainability. Always consult local building codes and manufacturer recommendations to ensure compliance and optimal performance.
Maintenance: Repair or Replace
Maintenance of roof sheathing is essential to ensure the longevity and safety of your roofing system. Knowing when to repair and when to replace roof sheathing is a critical decision. Let’s explore the factors that determine the appropriate course of action.
When to Repair Roof Sheathing: Roof sheathing repair can be a viable option under certain conditions:
- Localized Damage: If the damage is confined to a small area, such as a few rotted or delaminated panels, it may be possible to repair the affected sections without replacing the entire sheathing.
- Minor Moisture Intrusion: In cases of minor moisture intrusion or leaks that have been promptly addressed, drying out the affected area and repairing or replacing damaged panels may be sufficient.
- Surface Issues: Surface-level issues like loose nails or minor warping may be remedied through re-nailing or re-fastening the sheathing.
When to Replace Roof Sheathing: There are instances where roof sheathing replacement becomes necessary:
- Extensive Damage: If a significant portion of the sheathing is damaged, rotted, or compromised, it’s often more cost-effective and practical to replace the entire sheathing layer.
- Structural Issues: If the sheathing has suffered structural damage, such as severe warping or sagging, it poses a risk to the overall integrity of the roof and should be replaced.
- Moisture-Related Damage: Prolonged moisture exposure leading to widespread rot, mold, or decay may necessitate complete replacement to prevent further issues, including compromised insulation and indoor air quality.
- Age and Wear: As roof sheathing ages, it may become brittle and lose its structural integrity. In such cases, replacement is often the safest choice.
Signs You Need Roof Sheathing Replacement: Several signs can indicate the need for roof sheathing replacement:
- Spongy or Weak Spots: If you notice spongy or weak areas when walking on the roof, it’s a sign of deteriorated sheathing.
- Visible Sagging: Visible sagging or unevenness in the roof’s surface is a clear indication of structural problems.
- Persistent Leaks: If you experience persistent leaks that cannot be effectively repaired, it may be due to widespread sheathing damage.
- Widespread Mold or Rot: Extensive mold, rot, or decay on the sheathing surface is a serious concern that often necessitates replacement.
- Excessive Age: Roof sheathing has a limited lifespan. If your sheathing is approaching the end of its expected life, replacement should be considered.
In conclusion, the decision to repair or replace roof sheathing depends on the extent of the damage, structural issues, moisture-related concerns, and the age of the sheathing. Regular inspections and timely maintenance can help identify issues early and prevent extensive damage that may require complete replacement.
How roof sheathing contributes to a home’s energy efficiency
Understanding how roof sheathing affects a home’s energy efficiency is vital for homeowners looking to optimize their energy consumption. Let’s explore how roof sheathing contributes to energy efficiency and compare its role with insulation.
The Role of Roof Sheathing in Energy Efficiency: Roof sheathing plays a significant role in a home’s energy efficiency in several ways:
- Thermal Barrier: Roof sheathing acts as a thermal barrier, helping to regulate indoor temperatures by reducing heat transfer between the interior and exterior of the home. In cold climates, it prevents warm indoor air from escaping, while in hot climates, it reduces heat gain from the sun.
- Condensation Control: Properly installed roof sheathing with a vapor barrier can help control condensation, preventing moisture buildup in the attic. Excessive moisture can lead to mold, rot, and reduced insulation effectiveness.
- Ventilation Support: Roof sheathing works in conjunction with attic ventilation systems to maintain a stable attic temperature. Proper ventilation ensures that hot air can escape in the summer, reducing the load on air conditioning systems, and that moisture is removed to prevent damage.
Roof Sheathing vs. Insulation: Roof sheathing and insulation serve distinct but complementary roles in improving energy efficiency:
- Roof Sheathing: Roof sheathing primarily focuses on thermal regulation, moisture control, and support for the roof structure. It plays a crucial part in maintaining a comfortable indoor environment and protecting the roof structure.
- Insulation: Insulation is designed to minimize heat transfer between the living spaces and the exterior. It’s typically placed between the ceiling and the attic floor to prevent heat loss or gain. Insulation is essential for maintaining consistent indoor temperatures and reducing heating and cooling costs.
While roof sheathing and insulation have different functions, they work together to create an energy-efficient home. Proper insulation combined with effective roof sheathing ensures that the home remains comfortable year-round while reducing the need for excessive heating or cooling.
In summary, roof sheathing contributes significantly to a home’s energy efficiency by acting as a thermal barrier, controlling condensation, and supporting attic ventilation. While it serves a different purpose than insulation, the synergy between roof sheathing and insulation is crucial for creating an energy-efficient and comfortable living environment.
Solar Panels with Roof Sheathing
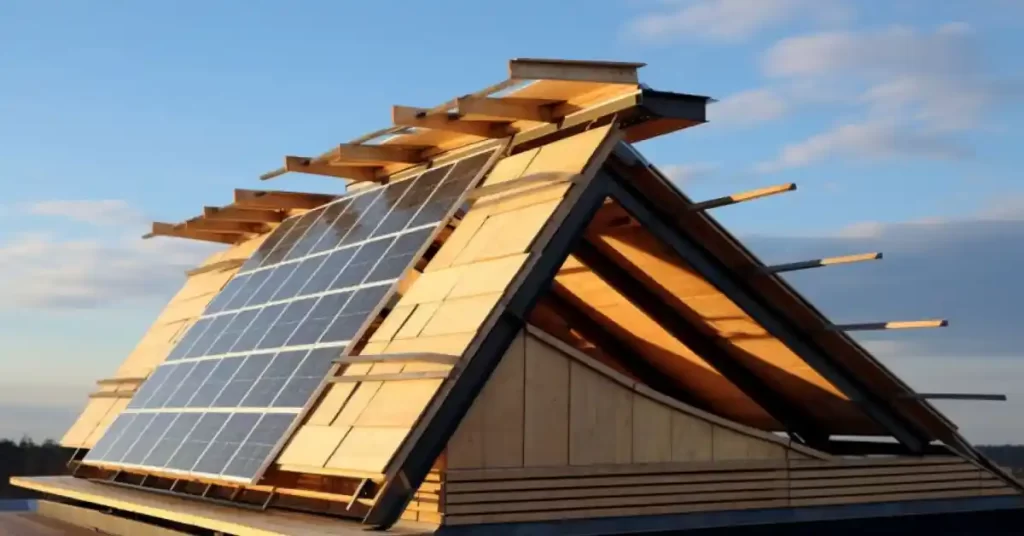
Integrating solar panels with roof sheathing is a smart choice for homeowners looking to harness renewable energy and reduce their electricity bills. Here, we’ll explore the essential considerations and best practices for installing solar panels on sheathed roofs.
Considerations for Installing Solar Panels on Sheathed Roofs:
- Roof Orientation and Tilt: The orientation and tilt of your roof are crucial factors for solar panel efficiency. Ideally, the roof should face south, southeast, or southwest to maximize sun exposure. The tilt angle should be optimized for your geographical location.
- Roof Condition: Before installing solar panels, ensure that your roof sheathing and roofing materials are in good condition. Any existing issues, such as leaks or damage, should be addressed before installation.
- Weight Capacity: Solar panels can add weight to your roof. It’s essential to assess whether your roof’s structure can support the additional load. Consult a structural engineer if necessary.
- Roof Sheathing Material: The choice of roof sheathing material can impact the installation of solar panels. Plywood and OSB are commonly used sheathing materials and are suitable for solar panel installations.
Best Practices for Solar Panel Installation on Sheathed Roofs:
- Professional Installation: It’s advisable to hire a qualified solar panel installation professional who can assess your roof, ensure proper panel placement, and handle electrical connections safely.
- Flashing and Waterproofing: Proper flashing and waterproofing are crucial to prevent leaks around the panel mounts. Experienced installers will ensure a watertight seal.
- Racking Systems: Solar panels are typically mounted on racking systems that elevate them slightly above the roof’s surface. This allows for air circulation, preventing overheating and improving panel efficiency.
- Roof Compatibility: Confirm that the type of roofing material on your home is compatible with solar panel installation. Common roofing materials like asphalt shingles, metal, and tile are suitable.
- Inverter Location: The solar inverter, which converts DC electricity generated by the panels into AC electricity for your home, should be strategically placed. It’s often installed in a garage or utility room.
- Maintenance: Solar panels require minimal maintenance but should be inspected periodically for debris and dirt buildup. Cleaning may be necessary to ensure optimal performance.
In conclusion, integrating solar panels with roof sheathing can be a sustainable and cost-effective choice. To ensure a successful installation, consider factors like roof orientation, condition, weight capacity, and sheathing material. Hiring a professional installer who follows best practices is essential for a safe and efficient solar panel system that benefits both the environment and your energy bills.
Eco-Friendly Roof Sheathing
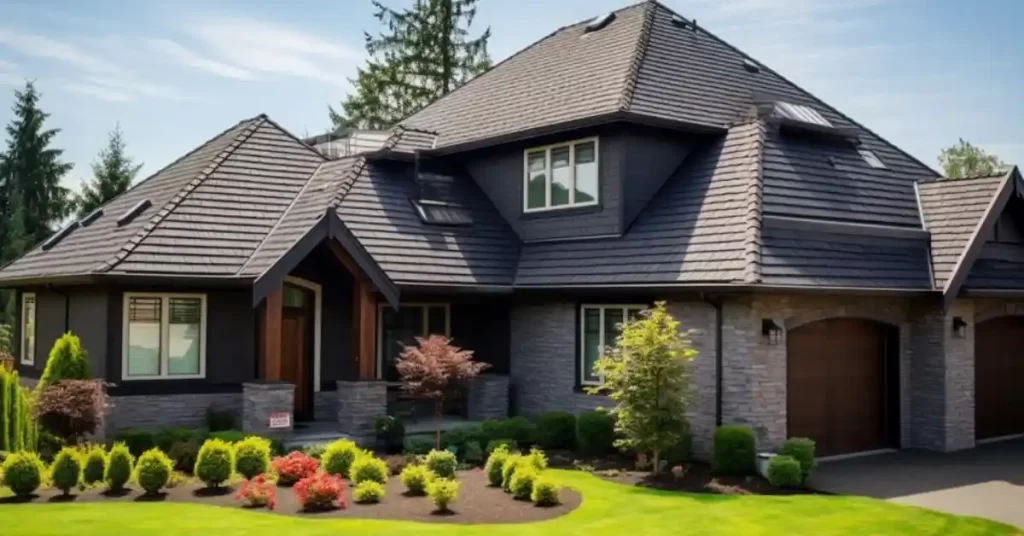
Exploring eco-friendly roof sheathing options is a significant step toward creating a more sustainable and environmentally responsible home. Let’s delve into the discussion of sustainable materials and the benefits they offer for both the environment and homeowners.
Sustainable Roof Sheathing Materials:
- Recycled Content Sheathing: Some roof sheathing materials are made from recycled content, such as reclaimed wood or recycled plastics. Using recycled materials reduces the demand for virgin resources and minimizes waste.
- FSC-Certified Wood: The Forest Stewardship Council (FSC) certifies wood products that come from responsibly managed forests. FSC-certified plywood and lumber are sustainable choices that promote responsible forestry practices.
- Engineered Wood Products: Engineered wood products like laminated strand lumber (LSL) and oriented strand board (OSB) can be eco-friendly options. These products use smaller, fast-growing trees and wood residues, reducing the need for old-growth timber.
- Sustainable Alternatives: Some innovative alternatives, such as bamboo and cork, are being used for roof sheathing. These materials are renewable, grow quickly, and have a lower environmental impact compared to traditional options.
Benefits for the Environment:
- Reduced Deforestation: Choosing sustainable roof sheathing materials helps reduce the demand for virgin timber, which in turn mitigates deforestation and preserves natural habitats.
- Lower Carbon Footprint: Sustainable materials often have a lower carbon footprint due to their reduced processing and transportation requirements. This helps combat climate change.
- Resource Conservation: Using recycled content or fast-growing wood species conserves valuable resources and reduces the strain on ecosystems.
Benefits for Homeowners:
- Energy Efficiency: Some sustainable roof sheathing materials provide better insulation properties, contributing to improved energy efficiency and reduced heating and cooling costs.
- Durability: Many eco-friendly materials are known for their durability and resistance to moisture, pests, and decay. This can extend the lifespan of your roof.
- Resale Value: Homes with eco-friendly features, including sustainable roof sheathing, often have higher resale values and appeal to environmentally conscious buyers.
- Healthier Indoor Environment: Some sustainable materials emit fewer volatile organic compounds (VOCs), leading to better indoor air quality.
- Local Incentives: Depending on your location, you may be eligible for local incentives or tax credits for using sustainable building materials, which can provide financial benefits.
In conclusion, exploring eco-friendly roof sheathing options is a responsible choice for homeowners who want to reduce their environmental footprint while enjoying the benefits of a sustainable and energy-efficient home. When considering roof sheathing materials, inquire about sustainable options that align with your values and contribute to a greener future.
Case Studies or real-world examples of roof sheathing applications
Real-world examples and case studies provide valuable insights into the practical application of roof sheathing in various scenarios. Let’s explore some case studies and the lessons learned from these experiences.
Case Study 1: Retrofitting for Energy Efficiency Location: Suburban Home in a Cold Climate
Challenge: The homeowners wanted to improve their home’s energy efficiency while maintaining its aesthetic appeal. The existing roof sheathing was dated, and the attic space lacked adequate insulation.
Solution:
- Roof Sheathing Replacement: The old roof sheathing was replaced with thicker panels to accommodate additional insulation.
- Insulation Upgrade: High-quality insulation was installed between the rafters, ensuring better thermal performance.
- Solar Reflective Roofing: The homeowners chose a solar reflective roofing material that reduced heat absorption, further enhancing energy efficiency.
Results:
- The home’s energy bills significantly decreased due to improved insulation and solar reflective roofing.
- The attic remained cooler in the summer and warmer in the winter, enhancing overall comfort.
- The retrofitting project had a relatively short payback period, making it a cost-effective investment.
Case Study 2: Sustainable New Construction Location: Urban Eco-Friendly Home
Challenge: A couple building their dream eco-friendly home sought sustainable materials, including roof sheathing, to align with their green living principles.
Solution:
- Sustainable Sheathing Material: The homeowners opted for FSC-certified plywood as their roof sheathing material, ensuring it came from responsibly managed forests.
- Solar Panel Integration: The roof sheathing was designed to accommodate the seamless installation of solar panels, maximizing renewable energy generation.
- Rainwater Harvesting: The roof design included features for rainwater harvesting, allowing the homeowners to reduce their water consumption.
Results:
- The eco-friendly roof sheathing contributed to the home’s overall sustainability and earned it green building certifications.
- Solar panels seamlessly integrated into the roof, providing clean energy and reducing utility bills.
- Rainwater harvesting reduced the home’s dependence on municipal water sources.
Lessons Learned and Best Practices:
- Plan for Energy Efficiency: Whether retrofitting or building new, prioritize energy-efficient roof sheathing and insulation to reduce long-term energy costs.
- Consider Sustainability: Choose sustainable sheathing materials that align with your environmental values and contribute to a greener future.
- Integration: If considering solar panels or other rooftop installations in the future, design the roof sheathing to accommodate these additions for easier and more efficient installation.
- Regular Maintenance: Regardless of the type of sheathing, conduct regular inspections and maintenance to address any issues promptly.
- Local Regulations: Be aware of local building codes and regulations that may influence your choice of sheathing material and installation practices.
Incorporating real-world examples and case studies into your decision-making process can provide valuable insights into the benefits and practical considerations of roof sheathing in various contexts. These experiences highlight the importance of energy efficiency, sustainability, and thoughtful planning in roofing projects.
Conclusion
In conclusion, roof sheathing is a critical component of any roofing system, playing a pivotal role in providing structural support, thermal regulation, and moisture control. Understanding the various aspects of roof sheathing is essential for homeowners, builders, and anyone involved in roofing projects.
We began by defining roof sheathing and discussing its fundamental roles and functions in roofing systems, emphasizing its importance in providing strength and stability to the entire roof structure. We explored the evolution of roof sheathing materials, from historical perspectives to modern standards, showcasing how these materials have evolved to meet the demands of today’s construction practices.
Next, we delved into the types of roof sheathing materials commonly used, such as plywood and OSB, highlighting their respective pros and cons. We also explored the eco-friendly options available for sustainable and environmentally responsible construction.
The installation process for roof sheathing was presented in a step-by-step guide, accompanied by information on essential tools and safety precautions. We discussed the importance of proper installation to ensure the long-term performance and integrity of the roofing system.
Roof sheathing thickness and spacing guidelines were outlined, considering the variations in roof types and materials. Maintenance practices, including when to repair or replace roof sheathing, were discussed, along with signs indicating the need for replacement.
We also examined how roof sheathing contributes to a home’s energy efficiency, comparing its role with insulation and emphasizing the synergy between these two elements in creating a comfortable and energy-efficient indoor environment.
For those interested in harnessing solar energy, we provided considerations and best practices for integrating solar panels with roof sheathing, promoting renewable energy generation and reduced utility costs.
Lastly, we explored eco-friendly roof sheathing options, highlighting sustainable materials and their benefits for both the environment and homeowners.
Throughout this comprehensive guide, we shared real-world examples and case studies, offering insights into successful roofing projects and lessons learned. These practical experiences emphasized the importance of energy efficiency, sustainability, and proper planning in roofing endeavors.
In making informed decisions about roof sheathing, whether in new construction, renovations, or repairs, it is essential to consider the specific needs of your project, local regulations, and environmental concerns. By prioritizing the integrity of your roofing system and its impact on energy efficiency and sustainability, you can ensure a durable, eco-friendly, and cost-effective solution for your home or building.
Related Article –
- Optimizing Roof Measurement for Solar Panels: Ultimate Guide
- Mastering Commercial Roof Measurement: Techniques and Tools
- TPO Roofing: Everything You Need to Know
- Ultimate Guide to Roof Flashing: Installation, Types, and Maintenance
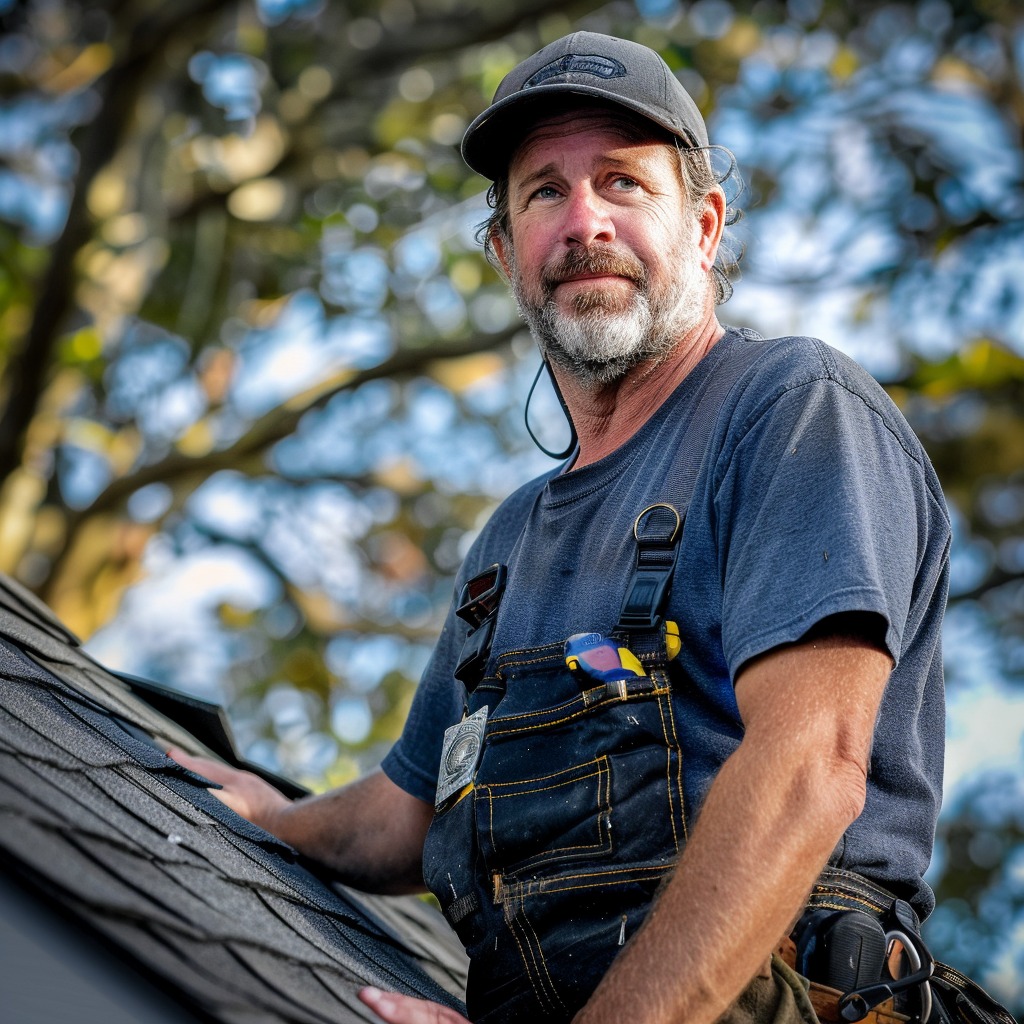
Meet William Adams, a seasoned roofing expert with over 30 years of hands-on experience in the industry. Having worked tirelessly under the scorching sun and through the fiercest storms, William brings a wealth of knowledge and expertise to the table. Hailing from the heart of the USA, he’s witnessed the evolution of roofing practices firsthand, mastering every aspect along the way. Now retired from the field, William spends his days cherishing time with his loved ones while sharing his invaluable insights through this platform. With William at the helm, you can trust that every tip, advice, and recommendation provided is backed by years of real-world experience and unwavering dedication to quality craftsmanship. Join us as we journey through the world of roofing, guided by the wisdom and passion of a true industry veteran.
