Ultimate Guide to Roof Flashing: Installation, Types, and Maintenance
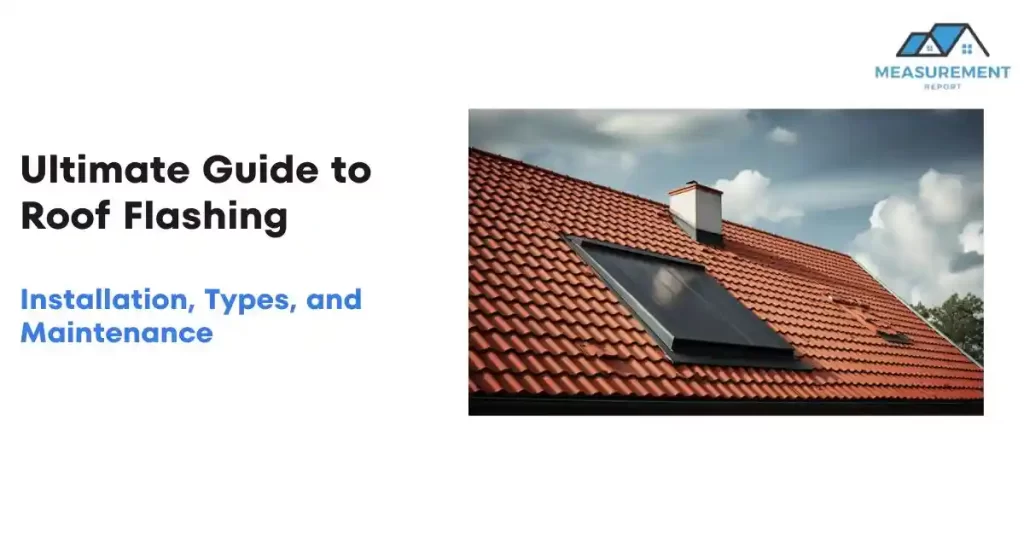
In the world of roofing, one element plays a pivotal role in safeguarding your home against the elements, yet often remains unnoticed: roof flashing. This unsung hero, typically crafted from materials like metal, plastic, or composite, is strategically placed to direct water away from critical areas of the roof, thereby preventing leaks and subsequent damage. Its importance in maintaining the structural integrity of your home cannot be overstated.
In this guide, we delve into the intricacies of roof flashing. From installation techniques that ensure a watertight seal to an exploration of the different types available, and the essential maintenance practices to prolong their effectiveness, we cover all you need to know. Whether you’re a homeowner looking to understand more about this crucial roofing component or a DIY enthusiast ready to tackle your next project, this guide offers the insights and practical advice necessary to navigate the world of roof flashing with confidence.
What is Roof Flashing?
Roof flashing is a fundamental component in roofing systems, designed to protect the house from water damage. It consists of thin pieces of waterproof material, typically metal, which are installed at various points of potential water entry on a roof. The primary purpose of flashing is to seal the gaps where the roof meets other structures or objects, such as chimneys, vents, skylights, or intersecting rooflines.
The basic principle behind roof flashing lies in its ability to channel water away from these vulnerable areas. Without flashing, water can seep into the gaps and crevices of the roof, leading to leaks, mold growth, wood rot, and eventually, significant structural damage. By effectively directing water towards the gutters or off the roof, flashing plays a critical role in preserving the longevity and integrity of the entire roofing system.
Why Roof Flashing is Crucial
Roof flashing is not just a component of the roofing system; it’s a crucial line of defense against some of the most common and damaging problems a house can face. The significance of roof flashing lies in its ability to prevent water leaks and protect the structural integrity of the home. Here’s why it’s so essential:
- Preventing Water Leaks: The primary role of roof flashing is to keep water out. It’s strategically placed in areas where water is most likely to penetrate, such as around chimneys, vents, and where different roof planes meet. By redirecting water away from these vulnerable spots, flashing minimizes the risk of leaks that can lead to indoor water damage.
- Protecting Structural Integrity: Constant water intrusion can weaken the structural elements of a roof, like rafters and trusses. Over time, this can lead to sagging or even collapse. Flashing acts as a barrier, preventing water from weakening these critical components.
- Preventing Mold and Rot: Moisture trapped in roofing materials can lead to mold growth and wood rot, which not only damages the roof but can also create unhealthy indoor air conditions. By keeping water out, flashing helps maintain a dry and healthy home environment.
- Enhancing Roof Longevity: A roof without adequate flashing can suffer premature wear and tear. Water damage can lead to the need for significant repairs or even a full roof replacement earlier than expected. Proper flashing installation extends the life of your roof by protecting it from the elements.
- Maintaining Aesthetic Appeal: Water damage can cause unsightly stains and deterioration. Well-maintained roof flashing helps preserve the appearance of your home, ensuring it looks good and remains functional for years to come.
In essence, roof flashing is more than just a technical necessity; it’s an investment in the health, safety, and longevity of your home. By effectively preventing water intrusion, it safeguards against the myriad of problems that water damage can bring.
Types of Roof Flashing
Step Flashing
Description and Usage:
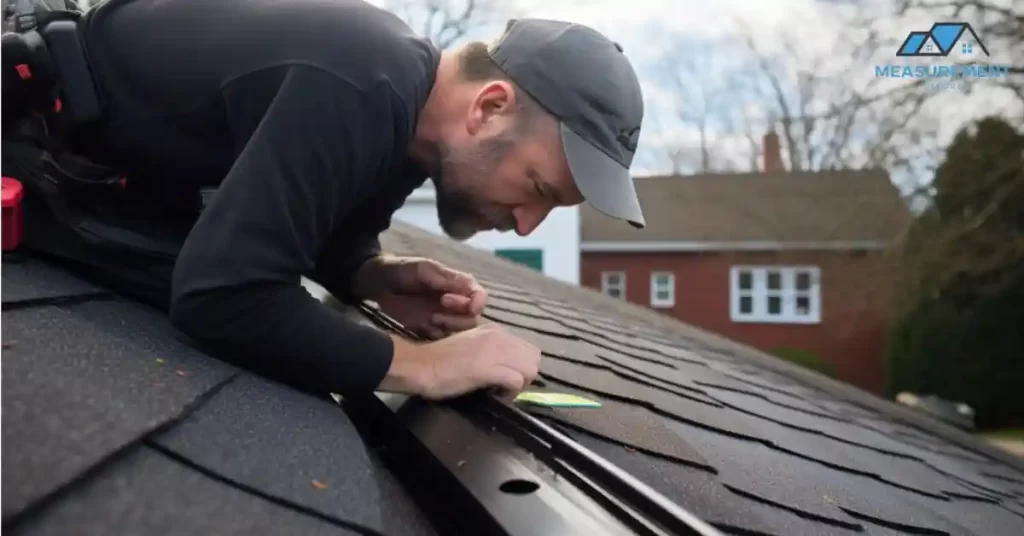
Step flashing, a crucial component in roofing, consists of rectangular pieces of metal bent at a 90-degree angle, commonly used where a roof meets a vertical surface, like a wall or a dormer. This type of flashing is installed in layers with each piece overlapping the one below it, akin to steps, hence the name.
Pros:
- Effective Water Barrier: The overlapping design ensures that water flows away from the wall and back onto the roof or into the gutter.
- Durability: Typically made from corrosion-resistant materials like galvanized steel, aluminum, or copper, step flashing can last as long as the roof itself.
- Versatility: Compatible with various roofing materials and architectural styles.
Cons:
- Installation Complexity: Requires careful installation to ensure proper overlapping and sealing.
- Potential for Damage if Improperly Installed: Incorrect installation can lead to water seepage, damaging the roof and wall.
Cost:
The cost varies based on material and roof complexity but is generally considered cost-effective due to its long lifespan and effectiveness.
Installation Basics:
Installation involves laying a shingle, placing a step flashing piece over it, and then covering it with the next shingle, creating a water-tight seal. It’s crucial to ensure each piece overlaps the one below to effectively channel water away.
Counter Flashing
Description and Usage:
Counter flashing is designed to work in tandem with base flashing (like step flashing) around roof penetrations or intersections. It’s installed above base flashing and embedded into a wall or chimney to create an additional layer of water protection.
Pros:
- Double Protection: When combined with base flashing, it offers superior protection against water infiltration.
- Aesthetic Integration: Can be painted or finished to blend with the exterior décor.
- Longevity: Usually made from durable materials like copper or steel.
Cons:
- Complex Installation: Requires precise measurement and fitting.
- Cost: Can be more expensive than basic flashing types due to the material and installation requirements.
Cost:
The cost depends on the material and extent of area to be covered but generally sits at a higher price point compared to simpler flashing types.
Installation Basics:
Installation involves embedding the counter flashing into the masonry and overlapping the base flashing, ensuring that water runs off the base flashing and away from the structure.
Valley Flashing
Description and Usage:
Valley flashing is used in the internal angles formed where two roof slopes meet, known as valleys. These areas are particularly susceptible to water accumulation and therefore require robust flashing.
Pros:
- Highly Effective in Water-Prone Areas: Ensures water flows smoothly off the roof.
- Customizable: Available in various materials and styles to match different roofing needs.
- Adds to Roof Lifespan: Prevents water accumulation and subsequent damage.
Cons:
- Visibility: More visible than other types of flashing, which might affect aesthetics.
- Installation Sensitivity: Incorrect installation can lead to leaks and water damage.
Cost:
Varies with material choice and valley complexity, but it’s a necessary investment for roof longevity.
Installation Basics:
Valley flashing is typically installed before the roofing material. It needs to be wide enough to handle the water flow and laid down in a way that ensures smooth water transition without pooling.
Apron Flashing
Description and Usage:
Apron flashing, also known as continuous flashing, is a long, unsegmented piece of flashing used primarily along the junction of a roof slope and a vertical wall or protrusion. It’s commonly seen at the base of chimneys or alongside dormer walls.
Pros:
- Seamless Protection: Being a single piece, it offers uninterrupted water diversion.
- Durability: Often made from robust materials, it withstands harsh weather conditions.
- Simple Installation: Easier to install compared to segmented flashing types.
Cons:
- Limited Flexibility: Doesn’t adjust as easily to roof or structure shifts.
- Potential for Expansion Issues: In fluctuating temperatures, lack of segments can lead to material stress.
Cost:
The cost is generally moderate, depending on the material used and the length required for the installation.
Installation Basics:
Apron flashing is installed by placing it along the intersection and securing it both to the roof material and the vertical surface, ensuring a smooth path for water to flow off the roof.
Drip Edge Flashing
Description and Usage:
Drip edge flashing is installed along the edges of the roof, particularly at the eaves and rakes. Its primary function is to guide water away from the roof deck and into the gutters, preventing water from seeping under the roofing materials.
Pros:
- Prevents Water Backflow: Essential for keeping water from going under shingles.
- Protection Against Insect and Animal Intrusion: Helps seal off spaces where pests might enter.
- Enhances Roof Longevity: By preventing water damage at the roof’s edges.
Cons:
- Visibility: Can be more visible than other types, affecting the roof’s aesthetic.
- Installation Precision Required: Incorrect installation can lead to ineffective water diversion.
Cost:
Typically affordable, with costs varying based on the material and length of the roof edges.
Installation Basics:
Drip edge flashing should be installed beneath the roofing felt along the eaves and on top of the felt along the rakes. It’s secured to the roof decking and provides a smooth channel to the gutters.
Pipe Flashing
Description and Usage:
Also known as vent pipe flashing or boot flashing, this type is used where plumbing pipes or vent stacks penetrate the roof. It ensures a tight seal around these round penetrations, preventing water entry.
Pros:
- Custom Fit: Designed to snugly fit around pipes, providing effective sealing.
- Versatile Material Options: Available in various materials, including rubber and metal.
- Essential for Leak Prevention: Critical for preventing leaks around roof penetrations.
Cons:
- Degradation Over Time: Rubber elements can degrade, requiring replacement.
- Installation Sensitivity: Must be installed correctly for effective sealing.
Cost:
The cost is usually moderate and is a necessary investment for preventing leaks around roof pipes.
Installation Basics:
Pipe flashing is typically a collar that fits around the pipe. It’s sealed to both the pipe and the roof material, often requiring additional sealant for a watertight fit.
Each type of roof flashing serves a specific purpose and is designed to address different challenges in roof architecture and water management. Choosing the right type and ensuring proper installation are key to maintaining the health and integrity of a roof.
Roof Flashing Materials
Copper Flashing
- Pros:
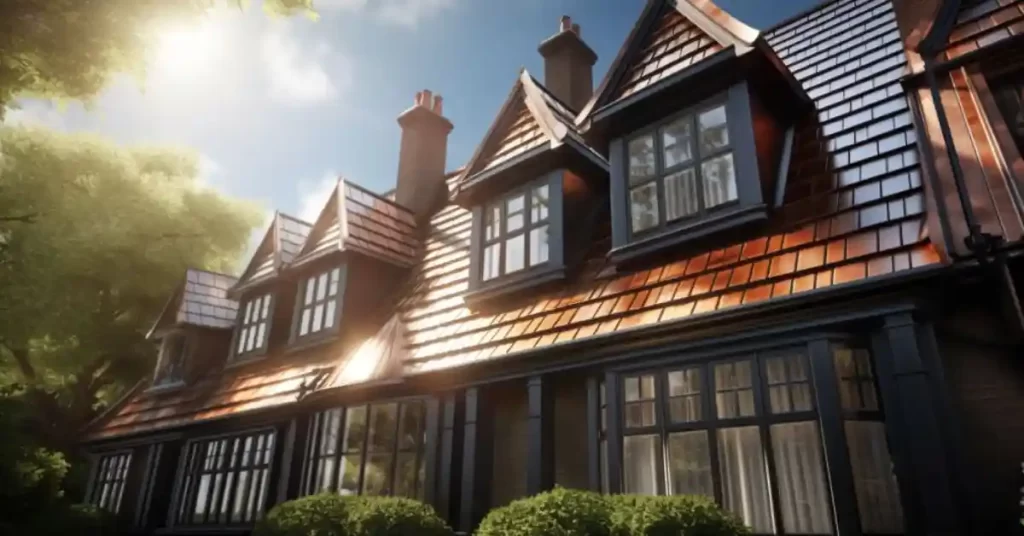
- Durability: Copper is highly durable and can last for decades.
- Aesthetic Appeal: Develops a unique patina over time, offering a classic look.
- Low Maintenance: Requires minimal upkeep due to its natural corrosion resistance.
- Cons:
- Cost: One of the more expensive materials.
- Installation Skill: Requires professional installation, especially for soldering joints.
- Cost: High-end, considering its longevity and quality.
- Usage Considerations: Ideal for historic or high-end homes where aesthetics are a priority, and for areas with harsh weather conditions due to its durability.
Aluminum Flashing
- Pros:
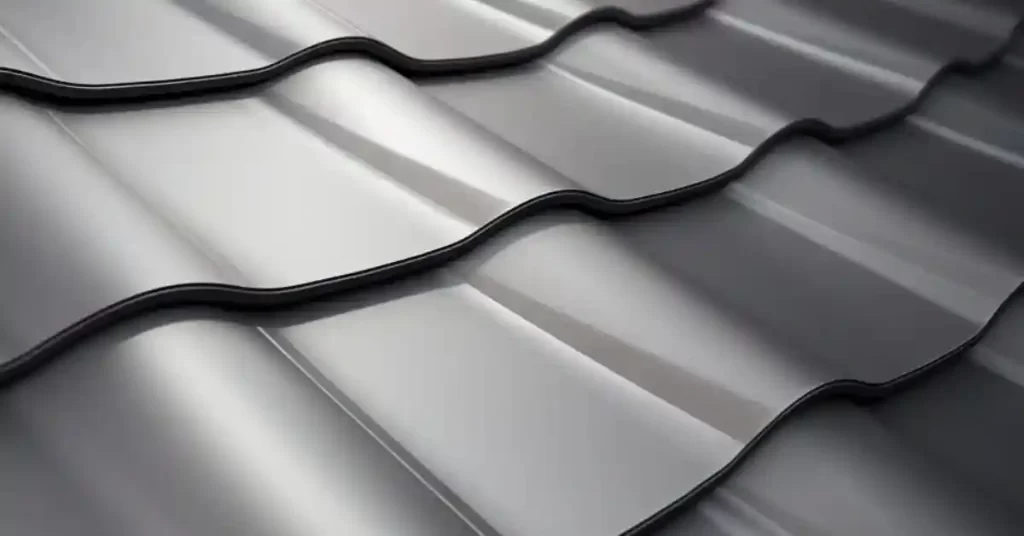
- Corrosion Resistance: Especially useful in coastal areas.
- Flexibility: Easier to form and fit than heavier metals.
- Affordability: More cost-effective than copper.
- Cons:
- Durability Concerns: May not last as long as copper or steel.
- Reactivity: Can corrode when in contact with certain materials, like concrete.
- Cost: Moderate, offering a good balance between affordability and performance.
- Usage Considerations: Suitable for most standard roofing projects, particularly in environments where corrosion resistance is key.
Steel Flashing (Galvanized and Stainless)
- Pros:
- Strength: Offers robust protection for roof joints.
- Longevity: Galvanized and stainless steel have long lifespans.
- Cost-Effective: Particularly galvanized steel, which is more affordable than copper.
- Cons:
- Rust Potential: Galvanized steel can eventually rust if the coating wears off.
- Weight: Heavier than aluminum, requiring careful handling during installation.
- Cost: Ranges from moderate for galvanized steel to higher for stainless steel.
- Usage Considerations: Ideal for areas with severe weather conditions. Stainless steel is preferred for its rust resistance, while galvanized steel is more cost-effective for general use.
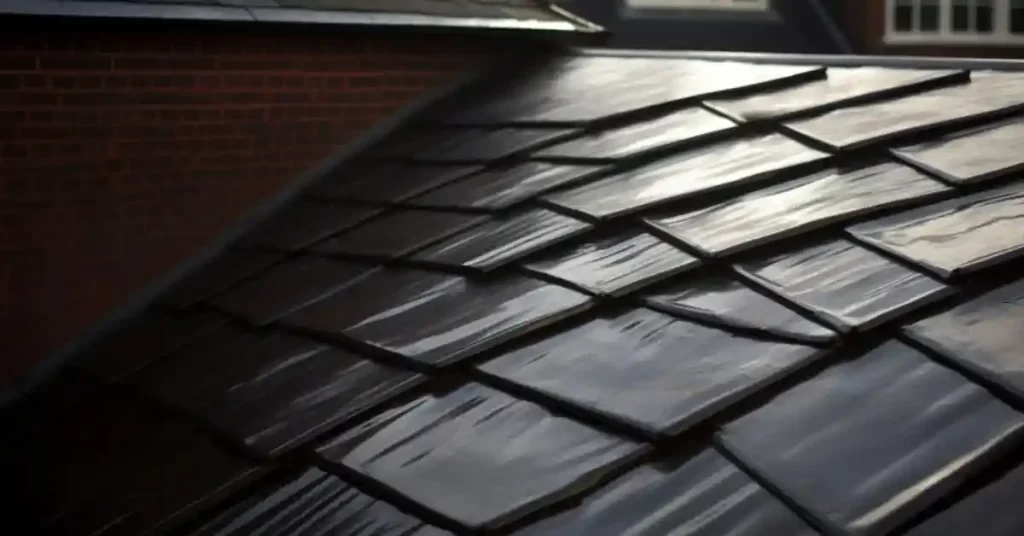
Rubber Flashing
- Pros:
- Flexibility: Easily conforms to various shapes, perfect for complex roof structures.
- Waterproof Qualities: Offers excellent water resistance.
- Ease of Installation: Can be easier to install than metal flashing.
- Cons:
- UV Sensitivity: Can degrade under intense sunlight.
- Not Suitable for High Temperatures: Can deteriorate in areas with extreme heat.
- Cost: Generally affordable, making it a popular choice for budget-conscious projects.
- Usage Considerations: Best used for vent pipes and other roof penetrations, especially in moderate climates.
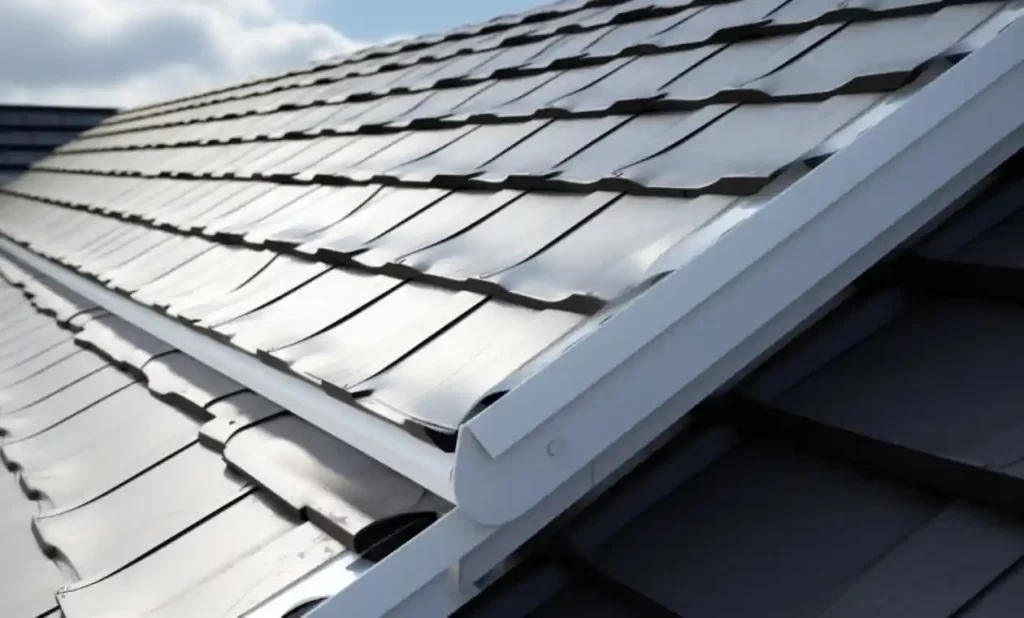
PVC Flashing
- Pros:
- Chemical Resistance: Resistant to a wide range of chemicals.
- Versatility: Can be used in various applications, including flat and low-slope roofs.
- Durability: Has a good lifespan and withstands environmental factors well.
- Cons:
- Temperature Sensitivity: Can become brittle in extremely cold temperatures.
- Environmental Concerns: PVC production and disposal have environmental impacts.
- Cost: Mid-range, offering a balance between cost and performance.
- Usage Considerations: Suitable for commercial buildings and homes with flat or low-slope roofs, especially in areas where chemical exposure is a concern.
Each roofing material has its unique set of properties, making it suitable for different applications and environments. The choice of material should be based on factors like climate, roof design, aesthetic preference, and budget.
Installation Guide for Roof Flashing
When it comes to installing roof flashing, whether you’re a DIY enthusiast or considering professional help, understanding the process and its nuances is key. The installation varies depending on the type of flashing and the specific areas of your roof, but there are general principles and steps that apply across most types.
DIY Installation Tips
For those inclined to tackle roof flashing installation themselves, it’s crucial to start with proper preparation. This involves measuring the area where flashing is required and selecting the right type and material, be it metal, rubber, or PVC. Essential tools for the job typically include tin snips, roofing nails, sealant, a hammer, and safety gear.
The installation process itself differs slightly based on the type of flashing. For instance, step flashing, commonly used around chimneys or skylights, involves placing the flashing against the wall and on top of the shingle, nailing it to the roof (not the wall), and applying sealant under the edge. Each piece should overlap the one below for a watertight seal. Valley flashing is laid in the roof valley, centered, and nailed down, with edges sealed. Drip edge flashing, vital along the eaves and rakes, requires overlapping pieces nailed to the decking and covered with underlayment.
Safety is paramount in DIY installations. A sturdy ladder, gloves, and non-slip shoes are essential, and any steps that feel risky should prompt you to seek professional help.
Professional Installation
There are scenarios where calling in a professional is advisable. Complex roof designs, handling specific materials like copper, or safety concerns are all valid reasons to hire an expert. Professional roofers bring the necessary skills, adhere to industry standards, and ensure compliance with local building codes. They conduct thorough assessments, provide quality workmanship, and their services often come with warranties, giving you peace of mind.
Local Code and Compliance
Whether going the DIY route or hiring a professional, compliance with local building codes is crucial. These codes ensure safety and quality standards are met. Non-compliance can lead to legal issues, fines, and problems with insurance claims. Before beginning any installation, check with your local building department for specific codes related to roofing and flashing. If using a professional, ensure they are aware of and adhere to these codes. A final inspection by a local official can provide assurance of compliance.
In summary, the installation of roof flashing is a task that can be undertaken by a DIY enthusiast with the right tools and knowledge or entrusted to a professional for guaranteed quality and adherence to safety and legal standards. Regardless of the route chosen, understanding the process and respecting local building codes are key to ensuring a successful and durable installation.
Regular Maintenance Tips
Regular inspection of roof flashing is key to early detection and resolution of potential issues. This involves examining the flashing around chimneys, vents, skylights, and roof valleys. Look for signs of wear, such as rust, cracks, or breaks, particularly in metal flashing. Also, check for loose or displaced pieces that could indicate a problem with the installation or with the flashing material itself. During inspections, it’s also wise to look for any signs of water damage, such as dark spots or wood rot, on the roof deck or rafters, which can suggest leaks around the flashing.
Common Problems and Solutions
Leaks are one of the most common problems associated with roof flashing. They often occur when the flashing is damaged, improperly installed, or corroded. The solution typically involves resealing the flashing or replacing damaged sections. For metal flashing, corrosion is another typical issue, especially in galvanized steel. Regular cleaning, painting, or applying anti-corrosion treatments can extend its life. In the case of rubber or PVC flashing, degradation due to UV exposure or extreme temperatures might necessitate repair or replacement.
When to Replace Roof Flashing
Knowing when to replace roof flashing is crucial. Indications that flashing needs replacement include extensive rust or corrosion, large cracks, or pieces that have become loose or fallen off. Additionally, if there are persistent leaks despite attempts at repair, it might be time to consider replacing the flashing. It’s also recommended to replace flashing during a roof replacement to ensure the new roof’s longevity and effectiveness.
In conclusion, the key to effective roof flashing maintenance lies in regular inspections, timely repairs, and understanding when replacement is necessary. By being proactive and attentive to the state of your roof flashing, you can prevent minor issues from escalating into major problems, ensuring your roof remains strong and leak-free for years to come.
Cost Analysis of Roof Flashing
On average, the cost of roof flashing ranges from $10 to $20 per linear foot for materials like aluminum or galvanized steel, which are among the most commonly used. More premium materials, such as copper, can push costs higher, sometimes up to $30 per linear foot or more. It’s important to note that these prices can fluctuate based on market conditions and regional variances.
The complexity and scope of the project also affect the cost. For instance, flashing around chimneys or skylights may require more intricate work and thus be more expensive. Additionally, the roof’s design – such as the number of valleys, chimneys, and other features requiring flashing – will also play a significant role in determining the total cost.
When estimating the cost for an entire roof, consider the linear footage of all areas needing flashing. For example, if your roof requires 100 feet of flashing, and you choose a material that costs $15 per linear foot, the material cost would total approximately $1,500.
Saving Money on Roof Flashing
There are ways to manage the budget effectively when dealing with roof flashing. If you have the necessary skills, a DIY approach can significantly reduce costs, primarily cutting out labor expenses. However, it’s essential to weigh the potential savings against the risks, as improper installation can lead to more significant expenses down the line due to water damage.
Hiring professionals, while initially more costly, can be more economical in the long run. Professionals bring expertise that ensures the job is done right the first time, potentially saving you from costly repairs due to installation errors. To save money when hiring professionals, it’s a good idea to get multiple quotes and look for off-season discounts.
In summary, when considering the costs of roof flashing, it’s important to factor in the type and amount of material needed, as well as the complexity of the installation. While DIY can offer savings, the value of professional installation in terms of reliability and long-term effectiveness should not be underestimated. By carefully considering these factors, homeowners can make informed decisions that balance cost-effectiveness with the quality and longevity of their roof flashing.
Best Roof Flashing Companies
Among the best roofing companies in the USA, three stand out for their unique qualities and services:
- Aspen Contracting: Renowned for its environmentally friendly approach, Aspen Contracting is distinguished by its use of eco-friendly and waste-reducing products. A notable feature is their “ironclad” lifetime warranty on both material and labor, providing clients with a significant assurance of quality and durability. They offer a range of services including siding and gutters, along with standard and emergency availability. Despite a less user-friendly website, they offer phone and online booking options and service several cities across the country.
- CMR Construction & Roofing: Specializing in roof repairs, particularly for storm damage and natural disasters, CMR Construction & Roofing stands out for streamlining the process from inspection to payment. They also provide additional services like siding, gutter, and window installation and repair. One of the company’s strengths is the convenience of working with a single representative throughout the project. However, they primarily operate in the South and Midwest and don’t specify a warranty for their services.
- Power Home Remodeling Group: This company excels in comprehensive exterior renovations, including roofing. They are known for their experienced contractors who are skilled in working with solar systems and practice environmentally friendly methods such as recycling and reusing materials. A unique offering of Power Home Remodeling Group is the completion of all roof jobs within a single day. They provide a lifetime warranty on labor with varying material warranties, and serve clients in over a dozen states across the U.S..
Each of these companies has distinct strengths, from eco-friendly practices to specialized repair services and rapid completion times, catering to a wide range of customer needs in roofing solutions across the USA.
Matching flashing to your home’s exterior.
Aesthetic considerations play a significant role in choosing the right roof flashing, as it contributes to the overall appearance of your home. When matching flashing to your home’s exterior, consider the following:
- Color Matching: Select flashing that complements or matches the color of your roof and home’s exterior. This creates a cohesive look.
- Material Finish: The finish of the flashing material can affect its appearance. For example, copper develops a patina over time, offering a classic, aged look, while painted aluminum or steel can be customized to match your home’s color scheme.
- Style Consistency: Ensure the flashing aligns with the architectural style of your house. For historic homes, traditional materials like copper might be more appropriate, whereas modern homes may benefit from sleek, painted flashing.
- Visibility: Consider how visible the flashing will be from the ground. In some areas, like roof valleys, the flashing is more noticeable, so choosing a material and color that blend well with the roof is important.
In summary, when selecting roof flashing, both functionality and aesthetics should be considered to ensure that it not only protects your home from the elements but also enhances its overall curb appeal.
Conclusion
In conclusion, roof flashing is a critical component in maintaining the integrity and longevity of your roofing system. It prevents water damage, enhances the roof’s durability, and plays a vital role in preserving the structure of your home. Understanding the different types of flashing, the appropriate materials, and the specifics of installation and maintenance is key to ensuring effective water diversion and roof protection. Whether you opt for a DIY approach or professional installation, it’s essential to consider both functional and aesthetic aspects to achieve a solution that not only safeguards your home but also complements its overall appearance. With the right approach and attention to detail, roof flashing can significantly contribute to the health and longevity of your roof.
Related Article –
- Optimizing Roof Measurement for Solar Panels: Ultimate Guide
- Mastering Commercial Roof Measurement: Techniques and Tools
- TPO Roofing: Everything You Need to Know

Meet William Adams, a seasoned roofing expert with over 30 years of hands-on experience in the industry. Having worked tirelessly under the scorching sun and through the fiercest storms, William brings a wealth of knowledge and expertise to the table. Hailing from the heart of the USA, he’s witnessed the evolution of roofing practices firsthand, mastering every aspect along the way. Now retired from the field, William spends his days cherishing time with his loved ones while sharing his invaluable insights through this platform. With William at the helm, you can trust that every tip, advice, and recommendation provided is backed by years of real-world experience and unwavering dedication to quality craftsmanship. Join us as we journey through the world of roofing, guided by the wisdom and passion of a true industry veteran.
