Are you aware that a simple component called a drip edge can protect your roof from water damage and ensure its longevity? Discover how installing a drip edge can safeguard your roof, prevent leaks, and save you from costly repairs.
Key Takeaways:
- A drip edge is a vital element in roof installation, providing water protection and preventing rot and leaks.
- Various types of drip edges, such as Type C, Type D, and Type F, offer different profiles for different roof types and climates.
- Materials like aluminum, galvanized steel, and copper provide strength, durability, and aesthetic appeal.
- Proper installation involves securing the drip edge, ensuring overlap, and accurately measuring and cutting for corners and angles.
- Regular maintenance and compliance with building codes are essential for long-lasting roof performance and water protection.
The Purpose of Roof Drip Edges
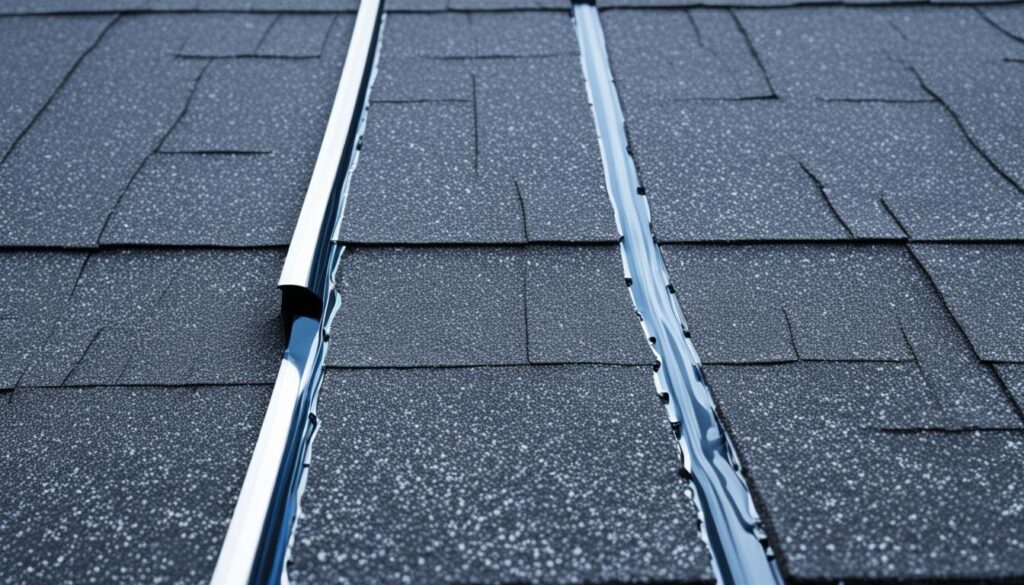
The main purpose of roof drip edges is to divert water away from the fascia and foundation of the home. These essential components utilize the forces of cohesion, surface tension, and gravity to effectively guide water into the gutter system, preventing water damage.
A roof drip edge plays a critical role in water diversion. By directing water away from vulnerable areas such as the fascia and foundation, it prevents water from seeping under the shingles or running down the fascia, protecting your roof and keeping it watertight.
In addition to protecting against water intrusion, a drip edge also provides defense against wind-driven rain. During heavy storms, wind can push rainwater upwards, potentially compromising the integrity of the roof. A properly installed drip edge ensures that water is efficiently directed away from the roof, maintaining its structural integrity.
Overall, roof drip edges are indispensable in preventing water damage to your home. They serve as a crucial safeguard by diverting water away from vulnerable areas, protecting the roof from leaks, rot, and other issues caused by water infiltration.
Quote:
“Roof drip edges are like the unsung heroes of roofing. They quietly protect our homes from water damage, ensuring a safe and leak-free environment.”-John Smith, Roofing Expert
By effectively directing water away from the roof and guiding it into the gutter system, a well-installed drip edge is a small investment that can save you from costly repairs and extend the life of your roof.
Types and Materials of Roof Drip Edges
Drip edges are essential components for protecting your roof from water damage. They come in various types and materials to suit different roof types and climates. Let’s explore the different drip edge types and materials available.
Type C Drip Edge
A common choice for residential roofs, Type C drip edge features a classic “L” shape. It effectively diverts water away from the fascia and into the gutter system. This type of drip edge provides reliable water protection and is suitable for most roof applications.
Type D Drip Edge
Shaped like a “T,” Type D drip edge offers enhanced water diversion away from the fascia. This design provides additional protection against wind-driven rain, ensuring water does not penetrate the roof system. Consider Type D drip edges for areas prone to heavy rainfall or windy conditions.
Type F Drip Edge
Type F drip edge comes with a longer leading edge, making it ideal for installing new drip edges over existing shingles or on rake edges. This type provides extra coverage and protection, ensuring proper water diversion. Type F drip edges offer versatility in installation options.
Now, let’s take a look at the different materials used for drip edges.
Aluminum Drip Edge
Aluminum is a popular choice for drip edge materials. It is lightweight, durable, and corrosion-resistant, making it suitable for long-term use. Additionally, aluminum drip edges can be easily painted to match the color of your roof, ensuring a seamless blend with the overall aesthetics.
Galvanized Steel Drip Edge
For enhanced strength and rust resistance, consider using galvanized steel drip edges. These drip edges are highly durable and provide reliable protection against water damage. Galvanized steel is particularly suitable for areas with harsh climates or exposure to saltwater.
Copper Drip Edge
If you’re looking for a drip edge with a unique appearance and long-lasting performance, copper is an excellent choice. Copper drip edges develop a beautiful patina over time, adding character to your roof. They are also corrosion-resistant and offer exceptional longevity.
When selecting a drip edge for your roof, consider the compatibility with your roof type and the climate in your area. The choice of drip edge type and material plays a crucial role in ensuring effective water protection for your roof, preventing potential water damage, and maintaining the integrity of your entire roofing system.

| Type | Description |
|---|---|
| Type C | Classic “L” shape, common for residential roofs |
| Type D | “T” shape, provides enhanced water diversion |
| Type F | Longer leading edge, suitable for installation over existing shingles |
| Material | Description |
|---|---|
| Aluminum | Lightweight, durable, and corrosion-resistant |
| Galvanized Steel | Strong, rust-resistant, suitable for harsh climates |
| Copper | Unique appearance, long-lasting, develops a patina |
How to Install a Drip Edge on Your Roof
Proper installation of a drip edge involves several important steps. By following these installation steps and guidelines, you can effectively install a drip edge on your roof and optimize its water protection capabilities.
Preparation and Placement
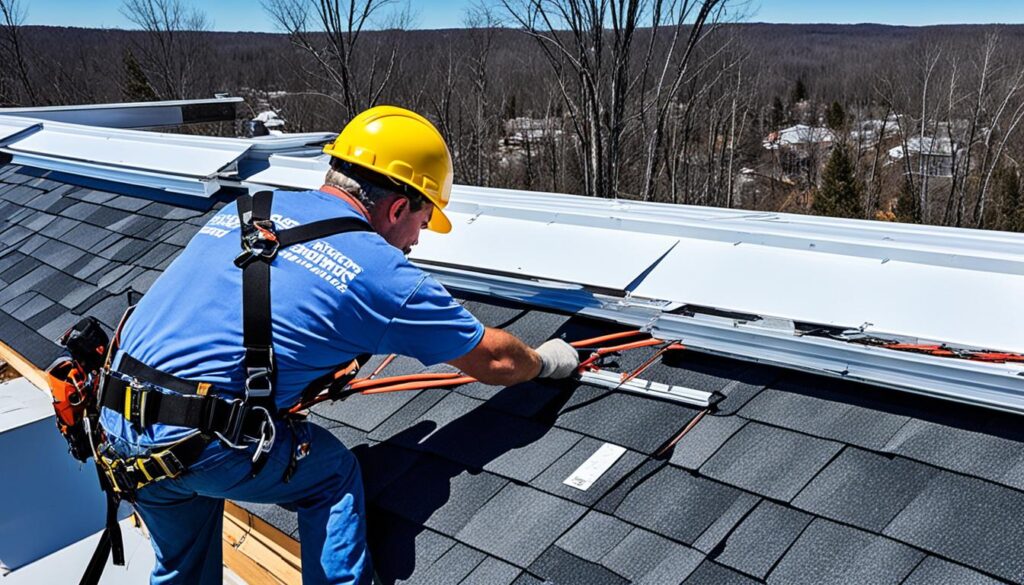
Before installing the drip edge, ensure that your roof deck is prepared and ready for installation. Remove any debris or old materials from the roof edge. Install the drip edge on the eaves before the roof underlayment and on the rakes after the underlayment. This sequence ensures proper water diversion and protection.
Types and Materials
Drip edges come in different types, such as Type C, Type D, and Type F, each serving specific purposes. Choose the appropriate type based on your roof type and climate. Additionally, select the right material for your drip edge, such as aluminum, galvanized steel, or copper, considering factors like durability and compatibility with your roof.
Securing and Attaching
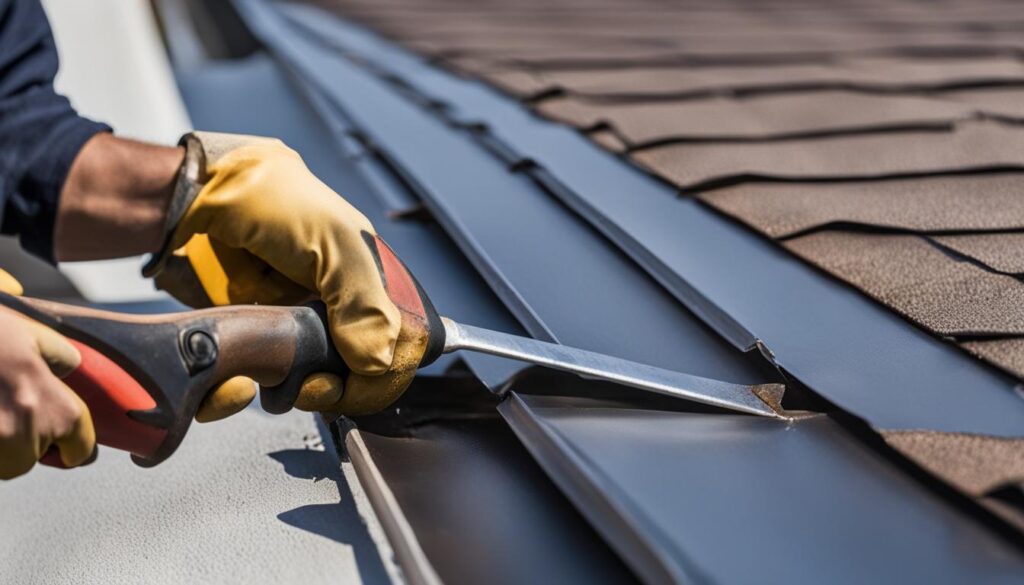
To secure the drip edge, use roofing nails or screws. Space them properly, following building codes and manufacturer recommendations, to ensure a secure attachment. Achieving the correct overlap between drip edge sections is crucial for effective water diversion and preventing leaks.
Cuts and Corner Securement
When reaching corners where eave and rake edges meet, make corner and peak cuts to fit the drip edge precisely. This ensures a proper fit and prevents gaps that could allow water penetration. Secure the drip edge tightly around corners to maintain its effectiveness.
Alignment and Adjustment
Throughout the installation process, check the alignment of the drip edge to ensure it is parallel to the roof edge. Make any necessary adjustments to maintain a straight and uniform installation. This helps optimize the water protection capabilities of the drip edge.
Local Building Codes
Always consult local building codes and regulations to ensure compliance with specific installation requirements. Building codes can vary, so it’s essential to follow the guidelines in your area to ensure a safe and effective installation.

By following these steps and considering building codes, you can successfully install a drip edge on your roof. Proper installation enhances the water protection of your roof and contributes to the overall longevity and performance of your home.
Conclusion
Installing a drip edge is a crucial step in protecting your roof from water damage and ensuring a leak-free home. By diverting water away from vulnerable areas of the roof and directing it into the gutter system, a properly installed drip edge helps maintain the integrity of the roof and prevents rot, leaks, and other issues caused by water infiltration.
When installing a drip edge, it is essential to choose the appropriate type and material for your specific roof type and climate. Following the recommended installation process, which includes accurate measurements, securing the drip edge properly, and cutting and shaping it correctly for corners and angles, is also crucial for optimal performance.
Additionally, regular roof maintenance, including inspecting and maintaining the drip edge, is essential for long-term roof performance and longevity. By following these steps and adhering to local building codes, you can master the installation of a drip edge and enjoy the peace of mind that comes with a well-protected roof and a leak-free home.

Meet William Adams, a seasoned roofing expert with over 30 years of hands-on experience in the industry. Having worked tirelessly under the scorching sun and through the fiercest storms, William brings a wealth of knowledge and expertise to the table. Hailing from the heart of the USA, he’s witnessed the evolution of roofing practices firsthand, mastering every aspect along the way. Now retired from the field, William spends his days cherishing time with his loved ones while sharing his invaluable insights through this platform. With William at the helm, you can trust that every tip, advice, and recommendation provided is backed by years of real-world experience and unwavering dedication to quality craftsmanship. Join us as we journey through the world of roofing, guided by the wisdom and passion of a true industry veteran.

