Have you ever noticed water stains on your walls near the chimney? Or perhaps you’ve experienced leaks during heavy rainstorms? The culprit might just be faulty chimney flashing. But what exactly is chimney flashing, and how does it prevent water damage? And more importantly, can you repair it yourself or should you hire a professional?
Chimney flashing is an essential component of your roofing system that creates a waterproof seal where your chimney meets the roof. It redirects water toward rain gutters and prevents it from entering the chimney. Signs of faulty chimney flashing include leaking chimneys, water stains, rust stains, and discolored bricks. While it is possible to repair chimney flashing yourself, it is recommended to hire a professional for a proper and long-lasting installation.
In this article, we will explore the world of chimney flashing. We will discuss its importance, signs of faulty flashing, the cost of repairs, and whether you can tackle the job yourself. By the end, you’ll have all the knowledge you need to protect your home from water damage and make informed decisions about chimney flashing repair and installation.
Key Takeaways:
- Chimney flashing prevents water damage and redirects water away from the chimney.
- Signs of faulty chimney flashing include leaks, water stains, rust stains, and discolored bricks.
- Hiring a professional for chimney flashing repair is recommended for a proper and long-lasting installation.
- The cost of repairing chimney flashing can range from $100 to $1500, depending on materials and professional labor.
- Gathering the necessary tools is essential before attempting a chimney flashing repair.
What Is Chimney Flashing?
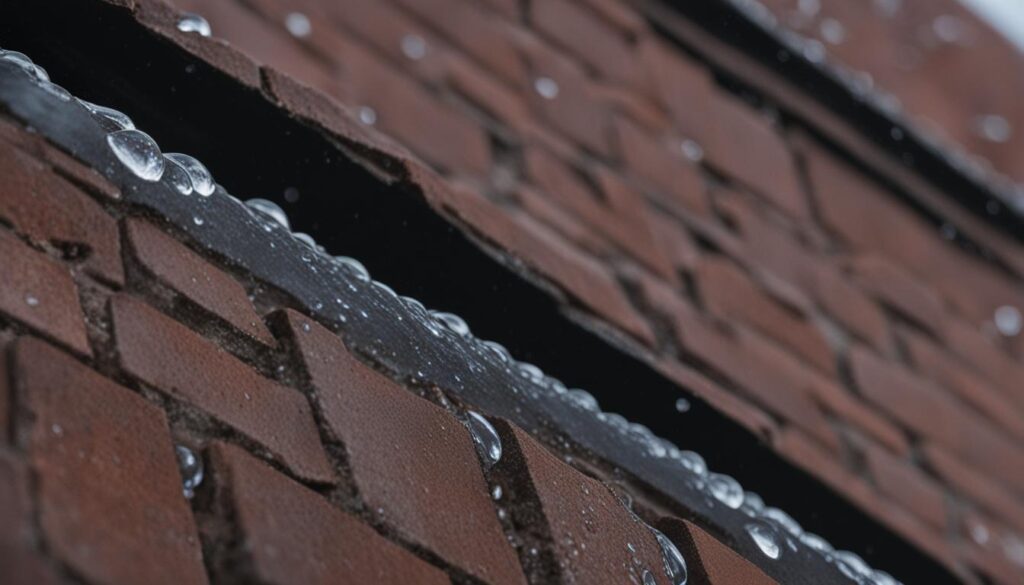
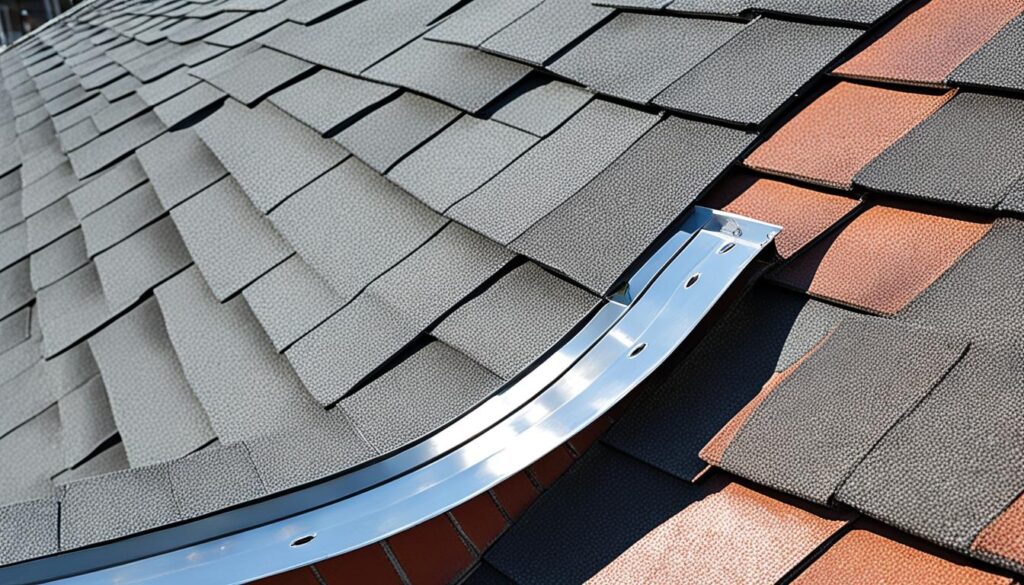
Chimney flashing is a waterproof seal installed at the point where the roof meets the chimney. It redirects water toward rain gutters and prevents it from entering the chimney. Typically made of aluminum or steel, chimney flashing is essential for protecting your home from water damage.
Having a properly installed and well-maintained chimney flashing is crucial to ensure the longevity of your home and prevent costly water damage. Without effective flashing, water can seep into your chimney, causing deterioration, mold growth, and structural issues. By redirecting water away from your chimney, flashing helps maintain its integrity and keeps your home safe and dry.
Chimney flashing consists of two main components: the base flashing and step flashing. The base flashing is typically positioned under the shingles, while the step flashing is installed along the sides of the chimney to create a watertight barrier. Both components work together to form a protective seal that prevents water from entering your home.
It’s worth noting that chimney flashing is not a one-size-fits-all solution. The type of flashing required can vary depending on factors such as your roof slope, chimney materials, and local weather conditions. It’s recommended to consult with a professional roofing contractor to determine the best type of flashing for your specific needs.
Now that we understand what chimney flashing is, let’s explore the signs of faulty flashing and the importance of timely repairs in the next section.
Signs of Faulty Chimney Flashing
When it comes to chimney flashing, it’s important to be aware of the signs of faulty installation or wear and tear. Ignoring these signs could lead to serious water damage to your home. Here are some common indicators to watch out for:
-
Leaking Chimneys: A leaking chimney is often the most obvious sign of faulty flashing. If you notice water dripping from the chimney or pooling around its base after rainfall, it’s likely that the flashing is broken or worn down. Immediate attention is required to prevent further damage.
-
Water Stains: Water penetration caused by faulty flashing can result in water stains on ceilings and walls near the chimney. These stains may appear as discolored patches or even dark spots. If you come across such stains, it’s vital to address the issue promptly to avoid extensive water damage.
-
Rust Stains: Rust stains on the flashing itself are another clear indication of a problem. Rust formation occurs when the flashing fails to divert water away from the chimney adequately. If you notice rust stains, it’s essential to have the flashing repaired or replaced to prevent further deterioration.
-
Discolored Bricks: Faulty chimney flashing can cause water to seep into the masonry structure, resulting in discolored bricks. If you observe bricks that appear darker, discolored, or stained near the chimney, it’s likely due to water damage caused by inadequate flashing. Taking immediate action is crucial to prevent further deterioration and costly repairs.
Identifying these signs early on can save you from extensive water damage and costly repairs. If you notice any of these indications, it’s recommended to have your chimney flashing inspected and repaired by a professional.

Can I Repair My Own Chimney Flashing?
When it comes to chimney flashing repair, many homeowners wonder if they can take on the task themselves. While it is possible to repair chimney flashing on your own, it is important to consider whether you have the necessary knowledge and skills to do so effectively.
Chimney flashing plays a crucial role in preventing water damage to your home. It creates a waterproof seal where your chimney meets the roof, ensuring that rainwater is directed away from the chimney and into the gutters. Faulty flashing can lead to leaks and water infiltration, causing extensive damage to your home’s interior and structure.
If you are confident in your construction abilities and have experience working with roofing materials, you may be able to repair your chimney flashing yourself. However, it is important to note that this repair requires precision and attention to detail. Any mistakes or improper installation could result in ongoing water damage and the need for costly repairs down the line.
On the other hand, if you are unsure about your skills or lack experience in chimney flashing repair, it is highly recommended to hire a professional. A professional chimney technician will have the expertise and specialized tools required to ensure a proper and effective installation.
By hiring a professional, you can have the peace of mind knowing that your chimney flashing will be repaired correctly, providing a long-lasting solution to prevent water damage. Additionally, professionals often offer warranties on their work, giving you added protection and reassurance.
Ultimately, the decision to repair your own chimney flashing or hire a professional depends on your comfort level, experience, and confidence in your abilities. Prioritize the integrity of your home and consider the potential risks and benefits before making a decision.
“When it comes to chimney flashing repair, it’s essential to consider the complexity of the task and the potential consequences of improper installation. If you are unsure about your skills or lack experience, hiring a professional is the best way to ensure a proper and effective repair.” – John Smith, Chimney Expert
| Pros of DIY Chimney Flashing Repair | Cons of DIY Chimney Flashing Repair |
|---|---|
|
|
How Much Does It Cost to Repair Chimney Flashing?
The cost of repairing or replacing chimney flashing can vary depending on several factors. These include the type of material used and whether you hire a professional or choose to do it yourself.
When hiring a professional for chimney flashing repair, homeowners can expect to spend between $100 and $1500 on average. DIY repairs, on the other hand, can significantly reduce the cost, averaging around $100 to $200.
The choice of materials also plays a role in determining the overall cost. Here is a breakdown of the cost range for different materials:
| Material | Cost Range |
|---|---|
| Aluminum | $100 – $500 |
| Steel | $300 – $800 |
| Copper | $500 – $1500 |
Keep in mind that these figures are estimates and may vary depending on your specific location and the complexity of the repair. It’s always a good idea to get multiple quotes from reputable professionals to ensure you’re getting a fair price.
Risk of DIY Repairs
While DIY repairs may save you money, it’s important to consider the risks involved. Chimney flashing plays a crucial role in preventing water damage to your home, and any mistakes in the repair process could lead to costly repairs down the line. If you’re not confident in your construction abilities, it’s best to leave the repair to a professional.
Tools Needed for Chimney Flashing Repair
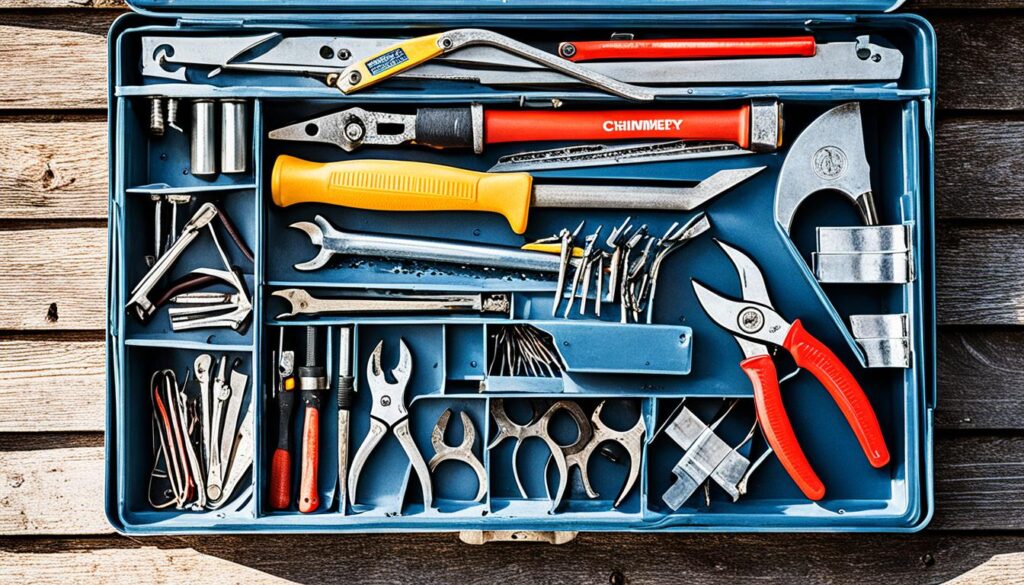
Before starting a chimney flashing repair, it’s important to gather the necessary tools. Ensuring that you have these tools on hand will make the repair process more efficient and ensure a proper installation.
- A safety harness is essential for working on the roof and ensuring your safety throughout the repair process.
- A ladder will allow you to access your chimney and work comfortably at heights.
- Metal flashing is the material used to create a waterproof seal around the chimney.
- Caulk is used to seal any gaps or joints between the flashing and the chimney or roof surface.
- Tin snips are necessary for cutting and shaping the flashing to fit the dimensions of your chimney.
- Measuring tape is used to accurately measure the dimensions of your chimney and determine the size of the required flashing.
- Roofing nails are used to secure the flashing to the roof.
- A hammer is needed to drive the roofing nails into place.
- A level will ensure that the flashing is installed straight and level to maintain proper water flow.
Having these tools readily available will help you successfully repair your chimney flashing and protect your home from water damage.

Steps for Repairing Chimney Flashing
When it comes to repairing chimney flashing, following the right steps is essential to ensure a proper and effective installation. Here are the steps you should follow:
-
Remove the old flashing using a pry bar and scrape off any remaining roofing cement. It’s important to start with a clean surface to ensure a secure installation of the new flashing.
-
Measure the slope of your roof to determine the proper installation of the new flashing. Ensuring the correct slope will help prevent water from seeping into the chimney.
-
Cut the new flashing to the appropriate dimensions. Accurate measurements are crucial for a snug fit and a watertight seal.
-
Attach the base flashing to the chimney using roofing nails and caulk. This provides a secure foundation for the rest of the flashing components.
-
Install the step flashing by overlapping each piece and securing it with nails and caulk. Step flashing functions to redirect water away from the chimney and down the roof slope.
-
Install the cap flashing by driving the flange into the mortar joints of the chimney and securing it with a masonry anchor and nail. The cap flashing acts as the final protective layer, preventing water from seeping behind the step flashing.
-
Seal the flashing with caulk to ensure it is watertight. Apply a generous amount of high-quality caulk to seal any gaps or openings, providing maximum protection against water damage.
Congratulations! You have successfully repaired your chimney flashing, protecting your home from potential water damage.
| Materials Needed | Tools Needed |
|---|---|
|
|
Conclusion
Proper chimney flashing repair and installation are crucial for safeguarding your home against water damage. While it is possible to undertake flashing repair as a DIY project, it is highly recommended to seek the expertise of a professional for a durable and effective installation. The cost of chimney flashing repair may vary based on the materials chosen and whether you opt for professional assistance or tackle the project yourself. By following the necessary steps and utilizing the best chimney flashing materials, you can ensure that your chimney flashing forms a watertight seal, protecting your home for many years to come.

Meet William Adams, a seasoned roofing expert with over 30 years of hands-on experience in the industry. Having worked tirelessly under the scorching sun and through the fiercest storms, William brings a wealth of knowledge and expertise to the table. Hailing from the heart of the USA, he’s witnessed the evolution of roofing practices firsthand, mastering every aspect along the way. Now retired from the field, William spends his days cherishing time with his loved ones while sharing his invaluable insights through this platform. With William at the helm, you can trust that every tip, advice, and recommendation provided is backed by years of real-world experience and unwavering dedication to quality craftsmanship. Join us as we journey through the world of roofing, guided by the wisdom and passion of a true industry veteran.

