Optimizing Roof Measurement for Solar Panels: Ultimate Guide
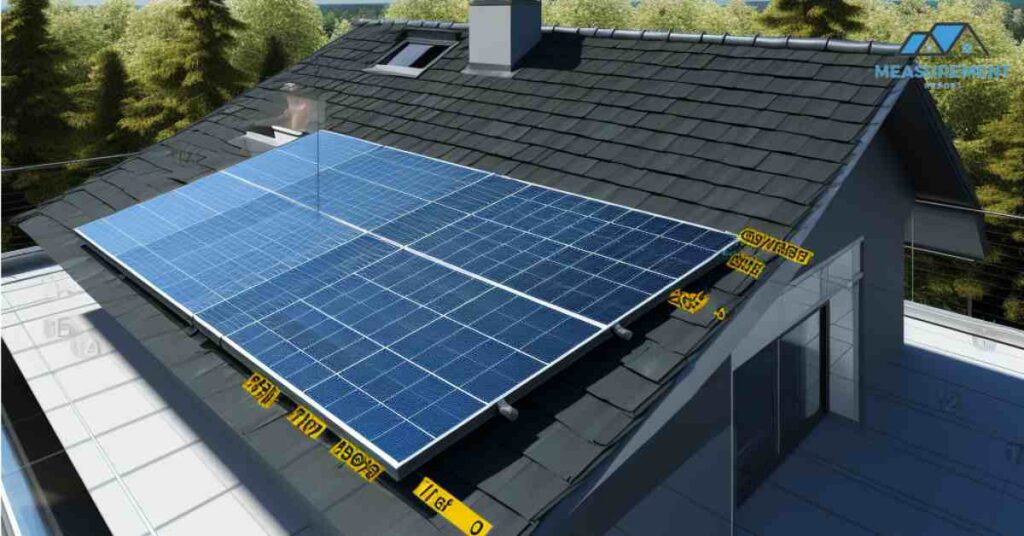
In the quest for renewable energy solutions, solar panels stand at the forefront, offering a sustainable way to harness solar energy. However, the efficiency and effectiveness of a solar panel system hinge significantly on the precision of the initial step – measuring the roof. This guide is dedicated to highlighting the critical importance of optimizing roof measurements for efficient solar panel installation. By ensuring accurate dimensions and understanding the nuances of your rooftop’s landscape, you can maximize both the energy output and the economic benefits of your solar investment.
Solar energy is no longer just a futuristic concept; it’s a practical solution for today’s energy needs. But the journey from deciding to install solar panels to enjoying the benefits of renewable energy begins with a crucial step – roof measurement. This guide delves into the intricacies of ‘roof measurement for solar panels’, covering everything from understanding different roof types to the latest technologies used in the ‘solar panel installation process’. Whether you’re a homeowner contemplating a DIY project or a professional seeking to refine your methodology, this comprehensive guide provides insights, tips, and best practices to ensure your solar panels are positioned for optimal performance. Join us as we explore how precise roof measurements can pave the way for a successful solar panel installation, bringing efficiency and sustainability to the forefront of your renewable energy endeavors.
Types of Roofs and Their Impact on Solar Panel Installation
Roof Varieties
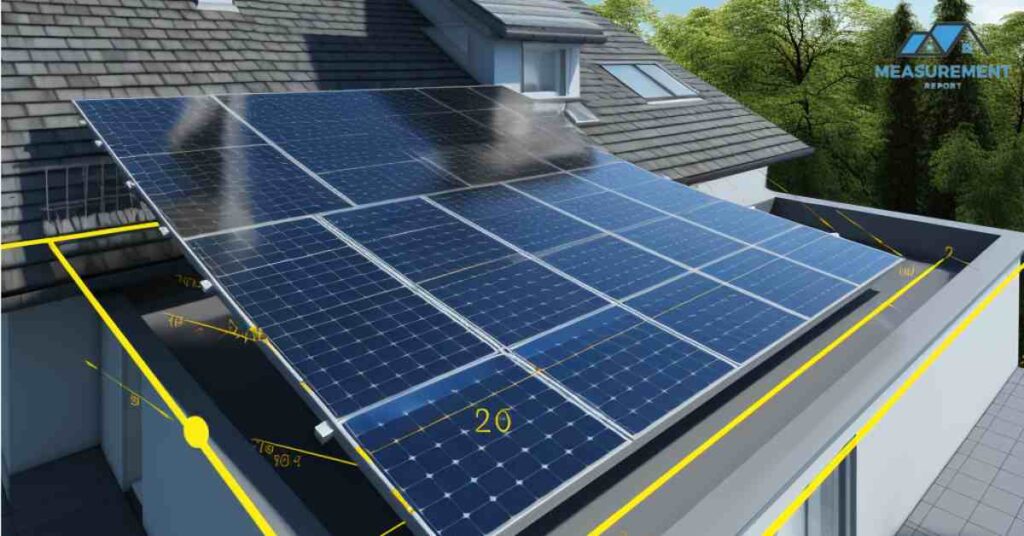
The type of roof on a building is a critical factor in determining the feasibility and efficiency of solar panel installation. The various roof types each have unique characteristics that can influence the installation process, the number of panels that can be installed, and the overall energy yield. Here, we explore some of the most common roof types and their compatibility with solar panels:
- Flat Roofs: Ideal for solar panels due to their flexibility in panel placement and orientation. They allow for optimal angling of panels for maximum sun exposure. However, additional mounting structures may be required to angle the panels properly.
- Pitched Roofs: Common in residential properties, pitched roofs can be ideal for solar panels if they face the right direction (typically south in the Northern Hemisphere). The angle of the roof can naturally increase the efficiency of solar energy collection.
- Gabled Roofs: With two sloping sides, gabled roofs offer more surface area for solar panels. The key is to install panels on the side that receives the most sunlight.
- Hip Roofs: These roofs have slopes on all four sides, which can be advantageous for even solar exposure. However, the available space might be less compared to gabled roofs.
- Mansard and Gambrel Roofs: These types have multiple slopes on each side, which can complicate solar panel installation but also offer unique positioning opportunities for optimal sun exposure.
- Metal Roofs with Standing Seams: Highly suitable for solar panel installation as the seams provide a perfect anchor for the panels without drilling holes.
- Tile Roofs: While aesthetically pleasing, tile roofs can be challenging for solar installation due to their fragility. Special mounting systems are often required.
Selection Criteria
When selecting a roof for solar panel installation, consider the following:
- Orientation and Tilt: The roof’s orientation to the sun is crucial. A south-facing roof typically yields the highest solar energy in the Northern Hemisphere. The tilt of the roof also affects solar efficiency, with a 30-45 degree angle often being ideal.
- Shading: Evaluate the presence of nearby trees, buildings, or other structures that could cast shadows on the panels, reducing their efficiency.
- Roof Condition and Age: A roof in poor condition or one that will soon need replacement is not ideal for solar panel installation. It’s best to repair or replace the roof before installation.
- Material and Load Capacity: Some roof materials are more conducive to solar panel installation than others. Additionally, the roof must be structurally sound to support the weight of the solar panels.
- Brand Compatibility: Different solar panel brands may offer specific advantages for certain roof types. It’s essential to research and select brands known for their compatibility with your roof type, durability, and efficiency.
Incorporating solar panels into various roof types requires careful consideration of these factors. By understanding the unique challenges and opportunities each roof type presents, homeowners and installers can make informed decisions that optimize the installation and performance of solar panels.
Necessary Tools and Equipment for Roof Measurement
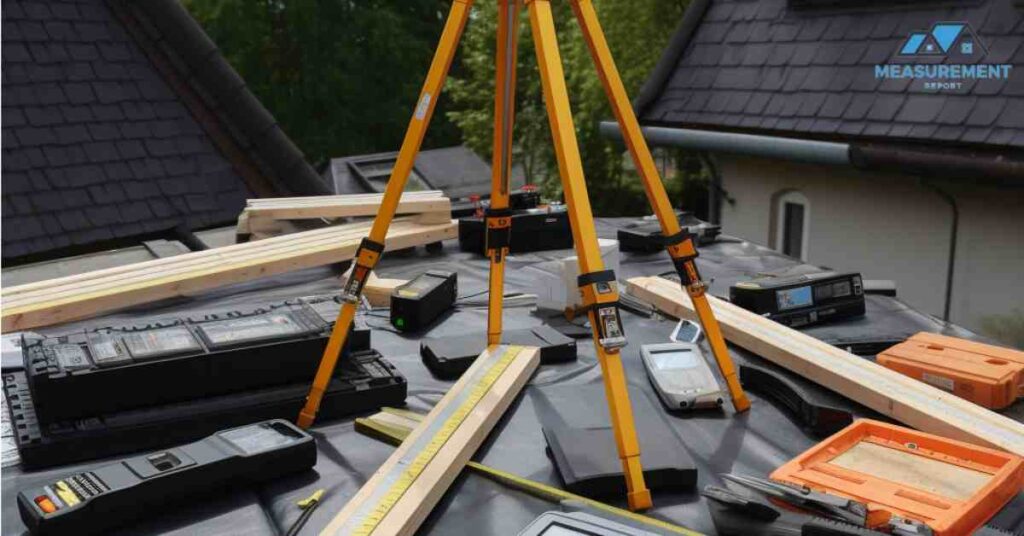
- Description: A basic but essential tool for manual roof measurement. Opt for a long, durable measuring tape.
- Description: For more accurate and easy measurements, a laser distance measurer is ideal, especially for larger roofs.
3. Inclinometer or Digital Angle Finder
- Description: Useful for determining the pitch of the roof.
4. Drone with Camera
- Description: For high-tech roof measurements and to view hard-to-reach areas. Drones can capture detailed images and videos of the roof.
- Description: These tools help assess the solar potential of a roof by analyzing shading patterns throughout the year.
6. Software for 3D Roof Modeling
- Description: Software like SketchUp or Google Earth Pro can be used for creating a 3D model of the roof for precise measurements and planning.
7. Roofing Calculator
- Description: A specialized calculator can help estimate roofing materials and costs.
- Description: Safety harness, helmet, and non-slip shoes are essential for manual roof inspections.
Tips for Using Technological Aids
- Laser Measurers: Ideal for long distances, they can give you a precise measurement with less physical effort.
- Drones: Useful for inaccessible roofs; they can provide a comprehensive view and aid in 3D modeling.
- Digital Tools: Software like SketchUp can be used to create a detailed plan of your roof, including angles and obstacles.
Step-by-Step Guide to Roof Measurement
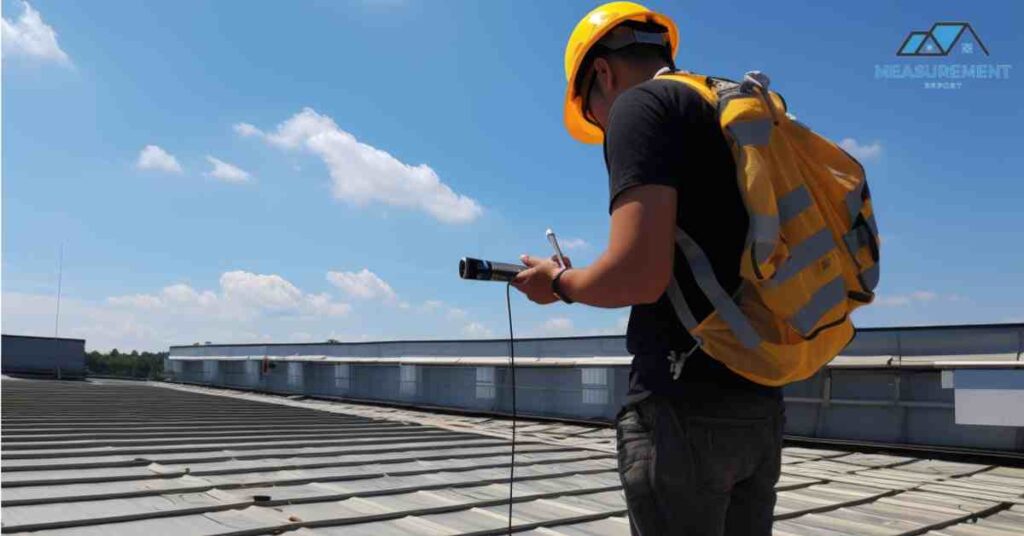
Manual Approach: DIY Roof Measurement for Solar Panels
Step 1: Safety First
- Ensure you have the right safety equipment (safety harness, helmet, non-slip shoes).
- Ensure the ladder is stable and secure before climbing onto the roof.
Step 2: Measure Roof Dimensions
- Using a measuring tape, measure the length and width of each roof section.
- For irregular roof shapes, divide the roof into geometric shapes (rectangles, triangles) and measure each separately.
Step 3: Calculate the Roof Pitch
- Use an inclinometer or digital angle finder to measure the slope (pitch) of the roof.
- The pitch is important for understanding how many panels can fit and their optimal orientation.
Step 4: Note Obstructions and Vents
- Identify and measure around obstructions like chimneys, vents, or skylights.
- Mark these areas as they will affect the placement of solar panels.
Step 5: Compile Your Data
- Draw a rough sketch of the roof layout, including measurements and obstructions.
- Use this data to estimate the total usable area for solar panels.
Step 6: Estimate Solar Panel Capacity
- Based on the measurements, calculate how many solar panels can fit on your roof.
- Remember to leave space between panels for maintenance and ventilation.
Digital Methods: Using Online Solar Panel Calculators
Step 1: Choose a Reliable Online Calculator
- Find a reputable online solar panel calculator (like PVWatts or Solar-Estimate).
Step 2: Input Roof Details
- Enter your roof measurements, orientation, and pitch into the calculator.
- Include details about your location for accurate solar irradiance data.
Step 3: Add Electricity Usage Details
- Some calculators require details about your average electricity usage and utility rates.
Step 4: Review the Results
- The calculator will provide an estimate of how many solar panels you need and the potential energy production.
- It may also give insights into potential savings and return on investment.
Step 5: Consider Professional Validation
- For accuracy, consider having a professional validate the results, especially if you plan a large installation.
Using these methods, homeowners can perform a preliminary assessment of their roof for solar panel installation. While the manual approach gives a hands-on understanding of the roof layout, online calculators can offer quick estimates and financial insights. Both methods are valuable in planning for solar panel installation.
Addressing Roof Obstacles and Features
Obstacle Management: Handling Obstacles in Roof Measurement for Solar Panels
Roof obstacles can significantly impact the layout and efficiency of solar panel installations. Here’s how to address them:
Identifying Obstacles
- Types of Obstacles: Common obstacles include chimneys, vents, satellite dishes, skylights, and HVAC units.
- Roof Inspection: Carefully inspect the roof and note the location, size, and height of each obstacle.
Measuring Around Obstacles
- Distance Measurement: Use a measuring tape or laser measurer to determine the distance around each obstacle.
- Buffer Zone: Allow for a buffer zone around obstacles to ensure adequate airflow and maintenance access.
Impact on Layout Planning
- Panel Arrangement: Adjust the solar panel layout to avoid shading from obstacles.
- Panel Orientation: Sometimes, obstacles may necessitate changing the orientation or tilt of the panels.
Professional Assessment
- Expert Advice: In cases of complex roof layouts, consult with a solar installation professional to optimize the panel arrangement.
Features and Solar Efficiency: Impact of Roof Features on Solar Panel Efficiency
Roof features can influence the efficiency of solar panels in various ways:
Roof Material
- Heat Absorption: Some materials (like metal) reflect heat, while others (like asphalt shingles) absorb more heat, affecting panel efficiency.
- Weight Support: The material should support the weight of solar panels without compromising roof integrity.
Roof Color and Coating
- Reflectivity: Light-colored roofs reflect more sunlight, potentially reducing panel efficiency.
- Cool Roofs: Roofs with reflective coatings can help reduce heat absorption, indirectly affecting solar panel performance.
Roof Age and Condition
- Maintenance: Older roofs might need repair or reinforcement before installation.
- Longevity: The roof’s lifespan should align with the expected lifespan of the solar panels.
Roof Pitch and Orientation
- Optimal Angle: The roof pitch can affect the angle of the panels, influencing their ability to capture sunlight.
- Orientation Factor: South-facing roofs (in the Northern Hemisphere) are generally more efficient for solar panels.
Shading from Roof Features
- Shading Analysis: Consider how permanent roof features like dormers or valleys may cast shadows on the panels at different times of the day and year.
By carefully considering and addressing these roof obstacles and features, homeowners and installers can significantly enhance the efficiency and effectiveness of solar panel installations. Proper planning and execution can lead to an optimized solar setup, ensuring maximum energy production and long-term benefits.
Solar Panel Sizing, Capacity, and Efficiency
Panel Sizing and Placement: Maximizing Solar Panel Efficiency with Proper Roof Dimensions
Understanding Panel Sizing
- Panel Dimensions: Solar panels come in various sizes, typically ranging from 60-cell to 72-cell configurations, with dimensions roughly between 65 inches by 39 inches and 77 inches by 39 inches, respectively.
- Roof Space Analysis: Assess the total usable area of the roof, taking into account roof dimensions and any obstacles or shaded areas.
Optimizing Placement for Efficiency
- Orientation: In the Northern Hemisphere, south-facing panel placement usually maximizes sun exposure. The specific orientation should be tailored based on roof orientation and geographic location.
- Tilt Angle: Align the tilt angle of the panels with the latitude of the location for optimal sun exposure throughout the year.
- Spacing: Ensure adequate spacing between rows of panels to prevent shading and allow for maintenance.
Balancing Aesthetics and Efficiency
- Visual Impact: Consider the visual impact of panel placement, especially in residential areas.
- Local Regulations: Check local zoning laws and homeowners’ association rules regarding solar panel visibility and placement.
Efficiency and Capacity: Linking Solar Panel Requirements and Placement to Efficiency
Calculating Solar Panel Requirements
- Energy Needs: Start by calculating your household or building’s average energy usage, which will determine the number of panels required.
- System Size: Use your average monthly energy consumption (in kWh) to estimate the total size of the solar system needed.
Enhancing Efficiency
- Quality Panels: Opt for high-efficiency solar panels, especially if roof space is limited. These panels, although more expensive, can generate more power per square foot.
- Microinverters vs. String Inverters: Microinverters can optimize the output of individual panels, useful in situations where panels might experience varying levels of shading.
Environmental Factors
- Climate Considerations: In areas with high temperatures, panels with better temperature coefficients are preferable, as they perform better in heat.
- Shading Analysis: Regularly assess for new shading obstacles, such as growing trees, which can affect panel efficiency over time.
Regular Maintenance
- Cleaning and Inspection: Regular cleaning and inspection of panels can prevent efficiency losses due to dust, debris, or damage.
By carefully considering panel sizing, placement, and the specific requirements of a building or home, solar panel installations can be optimized for maximum efficiency and capacity. This approach ensures that the solar system not only meets the current energy needs but also remains efficient and productive over its lifespan.
Best solar panel brands’ for different roof types
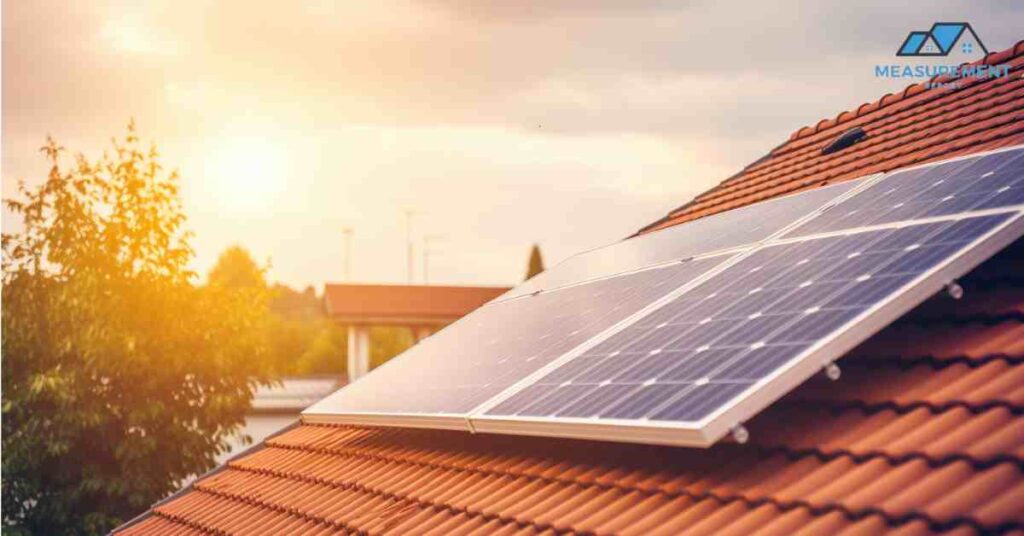
When considering the best solar panel brands for different roof types, it’s important to look at factors such as efficiency, durability, and the mounting systems offered by the brands, as these can significantly impact the suitability for various roof structures. Here are some recommendations:
1. Flat Roofs
- Brand Recommendation: SunPower and LG are known for their high-efficiency panels, which are ideal for flat roofs where space might be limited. These brands offer panels that can maximize energy production in a smaller area.
- Why Suitable: Their lightweight design and advanced mounting systems make them a good fit for flat roofs, where minimizing load and optimizing space is crucial.
2. Pitched Roofs
- Brand Recommendation: Canadian Solar and Q CELLS offer a good balance of efficiency and cost-effectiveness, making them suitable for residential pitched roofs.
- Why Suitable: These brands provide sturdy mounting systems that integrate well with the slope of pitched roofs, ensuring durability and long-term stability.
3. Gabled Roofs
- Brand Recommendation: Panasonic and Tesla (with their Solar Roof product) are excellent choices for gabled roofs due to their sleek design and high efficiency.
- Why Suitable: Their panels not only blend aesthetically with the roof’s design but also provide flexibility in terms of placement on different slopes.
4. Hip Roofs
- Brand Recommendation: First Solar and JA Solar offer panels that can be easily configured to suit the unique layout of hip roofs.
- Why Suitable: Their versatile mounting options allow for optimal placement on the various slopes of a hip roof.
5. Metal Roofs with Standing Seams
- Brand Recommendation: IronRidge and Unirac are notable for their solar mounting systems that pair well with metal roofs, particularly those with standing seams.
- Why Suitable: These systems attach securely to the seams, eliminating the need for drilling, which preserves the integrity of the roof.
6. Tile Roofs
- Brand Recommendation: Tesla and SunPower both offer solutions that are compatible with tile roofs, including specialized mounting hardware.
- Why Suitable: Their mounting systems are designed to accommodate the unique contours and weight considerations of tile roofs, ensuring secure installation.
General Considerations
- Warranty and Support: Look for brands that offer comprehensive warranties and reliable customer support.
- Local Climate Adaptability: Ensure the chosen brand’s panels are well-suited to your local weather conditions (e.g., heat tolerance for sunny climates, snow load capacity for colder areas).
- Certifications: Check for certifications like UL listing and IEC standards, which indicate quality and reliability.
Selecting the right solar panel brand for your roof type not only optimizes the energy output but also ensures the longevity and durability of the installation. It’s advisable to consult with a solar installation professional who can provide tailored recommendations based on your specific roof type and local conditions.
Compliance, Regulations, and Sustainability
Regulatory Aspects: Building Codes and Sustainability Benefits of Solar Energy
Understanding Building Codes
- Local Compliance: Building codes vary by region and are designed to ensure safety, structural integrity, and efficiency. It’s crucial to understand and adhere to these codes when installing solar panels.
- Permitting Process: Most solar panel installations require permits. This process typically involves submitting your installation plans and specifications for approval by local authorities.
Sustainability Benefits
- Reduced Carbon Footprint: Solar panels significantly reduce greenhouse gas emissions, contributing to a smaller carbon footprint.
- Renewable Resource: Solar energy is a renewable resource, meaning it doesn’t deplete natural resources or harm the ecosystem.
- Energy Independence: Solar panels can reduce reliance on non-renewable energy sources, promoting energy independence.
Environmental Impact: Renewable Energy Benefits and Solar Energy ROI
Benefits of Renewable Energy
- Sustainable Growth: Solar energy supports sustainable growth by providing a clean, inexhaustible energy source.
- Ecosystem Preservation: Unlike fossil fuels, solar energy production does not involve harmful emissions, preserving air and water quality and protecting ecosystems.
- Health Benefits: Reduced pollution from renewable energy sources leads to better air quality, contributing to public health improvements.
Solar Energy ROI (Return on Investment)
- Cost Savings: Solar panels can significantly reduce electricity bills, providing long-term savings.
- Increased Property Value: Homes with solar panels often have higher property values and are attractive to environmentally conscious buyers.
- Incentives and Rebates: Many regions offer incentives, rebates, and tax credits for solar panel installations, enhancing the financial return.
- Payback Period: The payback period for solar panels can vary but typically ranges from 5 to 15 years, depending on factors like local energy costs and solar irradiance.
Future Considerations
- Advancements in Technology: Ongoing advancements in solar technology are continuously improving efficiency and affordability.
- Changing Regulations: Stay informed about changes in energy policies and regulations, as they can impact the benefits and logistics of solar panel installation.
Professional Assessment vs. DIY
Professional Services: Opting for Professional Help in Solar Panel Roof Integration
When to Choose Professional Services
- Complex Roof Designs: If your roof has a complex design or multiple levels, a professional can provide the expertise needed for accurate measurement and optimal panel placement.
- Safety Considerations: Professionals are equipped with the necessary safety gear and training, especially important for steep or high roofs.
- Accuracy and Experience: Professionals bring experience and precision to the task, using advanced tools and techniques to ensure accurate measurements and efficient solar panel integration.
- Regulatory Compliance: Professionals are knowledgeable about local building codes, regulations, and permit requirements, ensuring that your installation is compliant.
Benefits of Hiring Professionals
- Time and Convenience: A professional service can save you time and effort.
- Technical Expertise: They can assess the structural integrity of your roof and make recommendations on the best type of solar panels and installation methods.
- Warranty and Accountability: Many professional installations come with warranties and guarantees, offering peace of mind.
DIY Feasibility: Measuring Your Roof for Solar Panels Without Professional Help
Assessing DIY Feasibility
- Simple Roof Layouts: For simpler, easily accessible roofs, DIY measurements can be quite feasible.
- Access to Tools: You’ll need the necessary tools (like a measuring tape, inclinometer, and possibly a drone) for accurate measurements.
- Research and Knowledge: Adequate research and understanding of solar panel requirements and roof measurements are essential.
Steps for DIY Roof Measurement
- Safety First: Ensure you have the necessary safety equipment and take all precautions.
- Gather Measurements: Measure the length and width of your roof surface, including any nuances like slopes.
- Obstacle Mapping: Identify and map out any obstacles (like chimneys or vents) that could affect panel placement.
- Calculate Area: Use your measurements to calculate the total usable area for solar panels.
Considerations for DIY Projects
- Limitations: Recognize the limitations of DIY, especially when it comes to complex installations.
- Validation: Consider having your measurements and plans validated by a professional, even if you opt for a DIY approach.
- Learning Curve: Be prepared for a learning curve and allocate sufficient time to understand all aspects thoroughly.
In summary, whether to go for professional services or take a DIY approach depends on factors like roof complexity, safety considerations, and personal comfort with the technical aspects of the project. While professional services provide expertise and ease, a DIY approach can be fulfilling and cost-effective for simpler projects. However, it’s crucial to be realistic about your skills and the project’s demands to ensure a safe and efficient solar panel installation.
Solar Panel Maintenance Tips
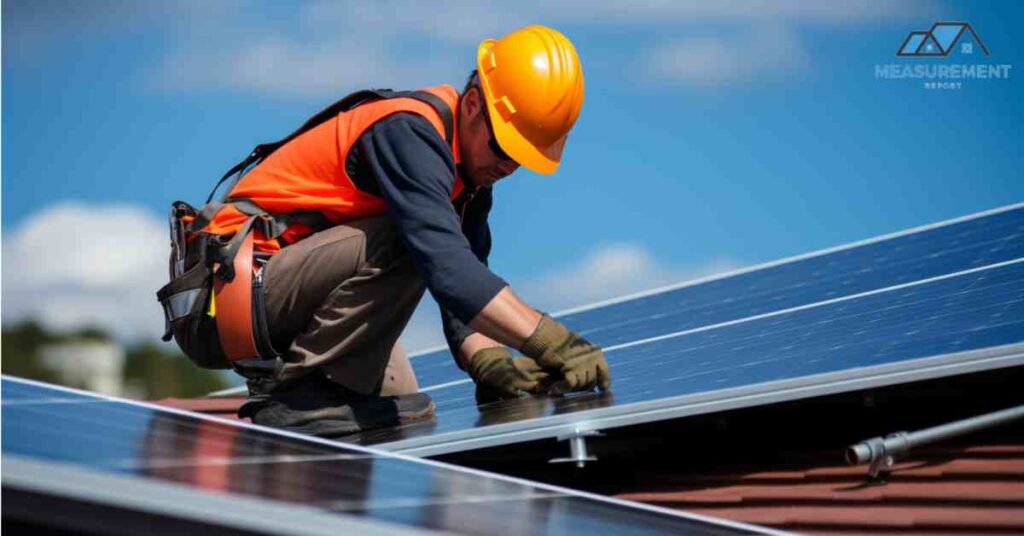
Maintaining solar panels is crucial for ensuring their longevity and optimal performance. Here are some key solar panel maintenance tips:
1. Regular Cleaning
- Dust and Debris: Panels should be cleaned regularly to remove dust, leaves, and other debris that can block sunlight.
- Cleaning Method: Use a soft brush or a cloth with mild detergent and water. Avoid abrasive materials that can scratch the panels.
- Frequency: The frequency of cleaning depends on your location and environment. In dusty areas or places with frequent bird droppings, more frequent cleaning is necessary.
2. Monitoring Performance
- Performance Tracking: Regularly monitor the energy output of your solar panels. A sudden drop in performance could indicate an issue.
- Use of Monitoring Systems: Consider using a solar panel monitoring system to track performance and identify any inefficiencies.
3. Inspecting for Damage
- Visual Inspections: Regularly inspect your solar panels for any physical damage, like cracks or discoloration.
- Professional Inspections: Have a professional inspect your solar panels periodically, especially after extreme weather events.
4. Managing Shade
- Tree Trimming: Keep nearby trees trimmed to prevent shading on your panels.
- Monitoring Shading Changes: Be aware of new constructions or growing trees in your area that might start casting shadows.
5. Checking Wiring and Components
- Wiring Inspections: Regularly check the wiring and connections for any signs of wear or damage.
- Component Health: Ensure that all components, including inverters and batteries (if applicable), are functioning correctly.
6. Snow and Ice Removal
- Gentle Removal: In snowy areas, remove snow and ice gently to avoid scratching the panels.
- Special Tools: Use a roof rake or similar tool designed for solar panels.
7. Preventive Maintenance
- Scheduled Check-ups: Schedule preventive maintenance with a professional to ensure all system components are in good working order.
- Warranty and Service Agreements: Stay updated on your warranty and service agreements for easy management of any repairs or replacements.
8. Bird and Pest Control
- Pest Deterrence: Install bird deterrents if birds or pests are a frequent problem.
- Regular Checks: Look for nests or signs of pests during your inspections.
9. Record Keeping
- Maintenance Log: Keep a log of all maintenance activities, including cleaning and repairs. This can be useful for warranty purposes and tracking the system’s health over time.
10. Safety First
- Safety Equipment: Always use the appropriate safety gear if you need to access your roof for panel maintenance.
- Professional Help: When in doubt, especially for roof-mounted systems, it’s safer to call in a professional.
Regular maintenance not only extends the life of your solar panels but also ensures they are operating at their highest efficiency, maximizing your energy savings and investment return.
Average Cost Estimates and Financial Planning For Solar Panel Installation
The cost of solar panel installation can vary widely based on several factors including the size of the system, the type of panels used, installation complexity, and geographic location. Here’s an overview of average cost estimates and financial planning considerations for solar panel installation:
Average Cost Estimates
1. System Size
- Small Systems (3-5 kW): Suitable for smaller homes or lower energy needs, costing approximately $10,000 to $15,000.
- Medium Systems (5-10 kW): Typical for average-sized homes, with costs ranging from $15,000 to $30,000.
- Large Systems (10+ kW): For large homes or high energy requirements, these can cost upwards of $30,000.
2. Panel Type and Quality
- Economy Panels: Less efficient but more affordable, these can reduce upfront costs.
- Premium Panels: Higher efficiency and longer lifespan, but at a higher cost.
3. Labor and Installation Complexity
- Labor Costs: Can vary depending on the complexity of the installation, the type of roof, and accessibility.
- Additional Equipment: Costs for inverters, mounting hardware, and other necessary equipment.
4. Geographic Location
- Local Labor Rates: Vary by region.
- Sunlight Availability: Areas with more sunlight may require fewer panels to produce the same amount of energy, impacting the overall system size and cost.
Financial Planning for Solar Panel Installation
1. Calculate Return on Investment (ROI)
- Energy Savings: Estimate your monthly and yearly energy savings to determine the payback period.
- Increased Home Value: Solar installations can increase property value.
2. Explore Incentives and Rebates
- Federal Tax Credit: Currently, homeowners may be eligible for a federal tax credit for solar energy systems.
- State and Local Incentives: Many states, municipalities, and utilities offer additional incentives.
3. Financing Options
- Solar Loans: Various lending institutions offer solar loans, which can be a practical way to finance the installation.
- Solar Leases or Power Purchase Agreements (PPAs): You can lease solar panels or enter into a PPA, where you pay for the power generated but do not own the panels.
4. Long-Term Savings
- Utility Rate Escalations: Factor in potential increases in utility rates over time.
- Maintenance Costs: Include the cost of periodic maintenance and potential repairs.
5. Insurance and Warranties
- Warranties: Most solar panels come with a 20-25 year warranty.
- Insurance: Check if your home insurance covers the solar panel system and if it affects your premiums.
6. Budgeting
- Initial Investment vs. Long-Term Savings: Weigh the upfront costs against the long-term financial benefits.
- Emergency Fund: Keep a reserve for unforeseen expenses related to the solar system.
Investing in solar panels is a significant financial decision that requires careful planning and consideration of both the initial investment and the long-term financial benefits. Accurate cost estimates, understanding available incentives, and exploring financing options are essential steps in planning for solar panel installation. The ultimate goal is to achieve a balance between making an environmentally friendly choice and ensuring it is financially viable in the long term.
Conclusion
This comprehensive guide has delved into the essential aspects of optimizing roof measurement for solar panel installation, highlighting several critical takeaways. Accurate measurement is the cornerstone of a successful solar panel project, necessitating precision in assessing your roof’s dimensions and layout. The selection of tools is vital, ranging from basic measuring tapes to advanced digital aids like drones and online calculators, to ensure measurement accuracy. Different roof types and inherent obstacles require customized approaches for the optimal placement and efficiency of solar panels. A crucial decision is between professional services and DIY methods, balancing the pros and cons based on roof complexity and personal expertise. Additionally, compliance with local regulations and an understanding of the sustainability benefits of solar panels are key to a responsible and effective installation.
However, common mistakes should be avoided. These include underestimating the impact of roof obstructions such as vents, chimneys, or shading, which can significantly affect panel efficiency. Overlooking the condition of the roof, especially if it’s old or damaged, can lead to future complications. Ignoring local building codes and permit requirements can also lead to legal issues and additional costs.
On the encouragement front for solar adoption, the benefits of solar energy are manifold. Solar energy helps reduce reliance on fossil fuels, thus lowering greenhouse gas emissions and contributing to a healthier environment. Despite the initial investment, solar panels can offer significant long-term financial savings on energy bills and even potentially increase property value. They also provide a step towards energy independence, reducing dependence on utility companies and the uncertainties of energy prices. The solar industry is continually advancing, bringing forth more efficient and cost-effective solutions for a wide range of applications.
In conclusion, installing solar panels is both an environmentally conscious decision and a financially astute one in the long term. By meticulously planning and implementing the measurement and installation process, homeowners and businesses can fully harness this renewable energy source. The journey towards solar energy adoption, though complex, offers a rewarding path towards sustainability and energy independence. As solar technology evolves, it becomes an increasingly appealing option for those seeking to contribute to a greener future while reaping the economic benefits it offers.
how much did you like this Roof Measurement for Solar Panels: Installation & Efficiency Guide, please share your view in the comment box, also share this blog with your friends on Social Media so they can also enjoy this story for more blogs visit measurementreport.com
Related Blogs:
- Your Ultimate Guide to Durable Roofing Solutions
- Roof Measurement: Techniques and Tools
- Best Materials for a Flat Roof
- Asphalt Shingles
- TPO Roofing

Meet William Adams, a seasoned roofing expert with over 30 years of hands-on experience in the industry. Having worked tirelessly under the scorching sun and through the fiercest storms, William brings a wealth of knowledge and expertise to the table. Hailing from the heart of the USA, he’s witnessed the evolution of roofing practices firsthand, mastering every aspect along the way. Now retired from the field, William spends his days cherishing time with his loved ones while sharing his invaluable insights through this platform. With William at the helm, you can trust that every tip, advice, and recommendation provided is backed by years of real-world experience and unwavering dedication to quality craftsmanship. Join us as we journey through the world of roofing, guided by the wisdom and passion of a true industry veteran.

